
Last updated September 22, 2026
Free on-site gate assessment - hinges, posts, and your LiftMaster or Nice gate operator checked before anything is quoted
The assessment is free and the quote is the invoice.

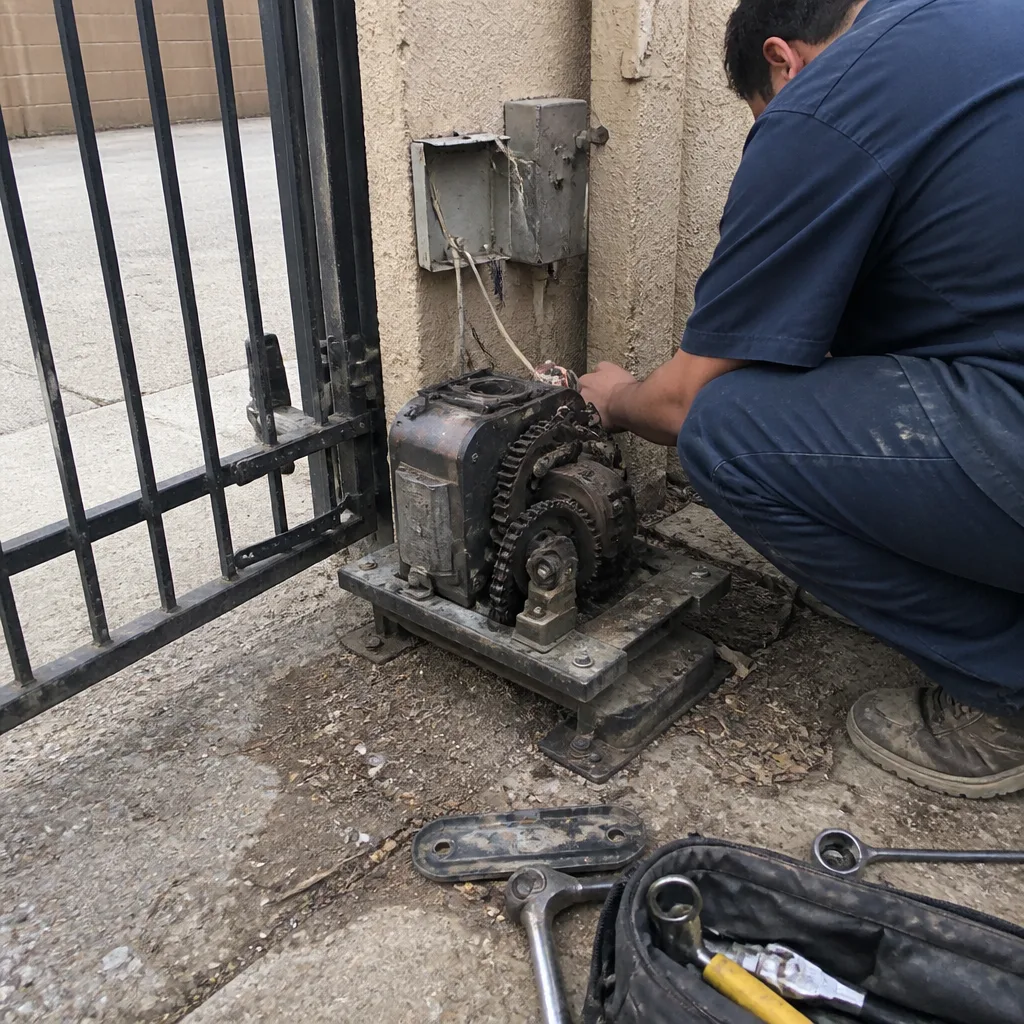 Before
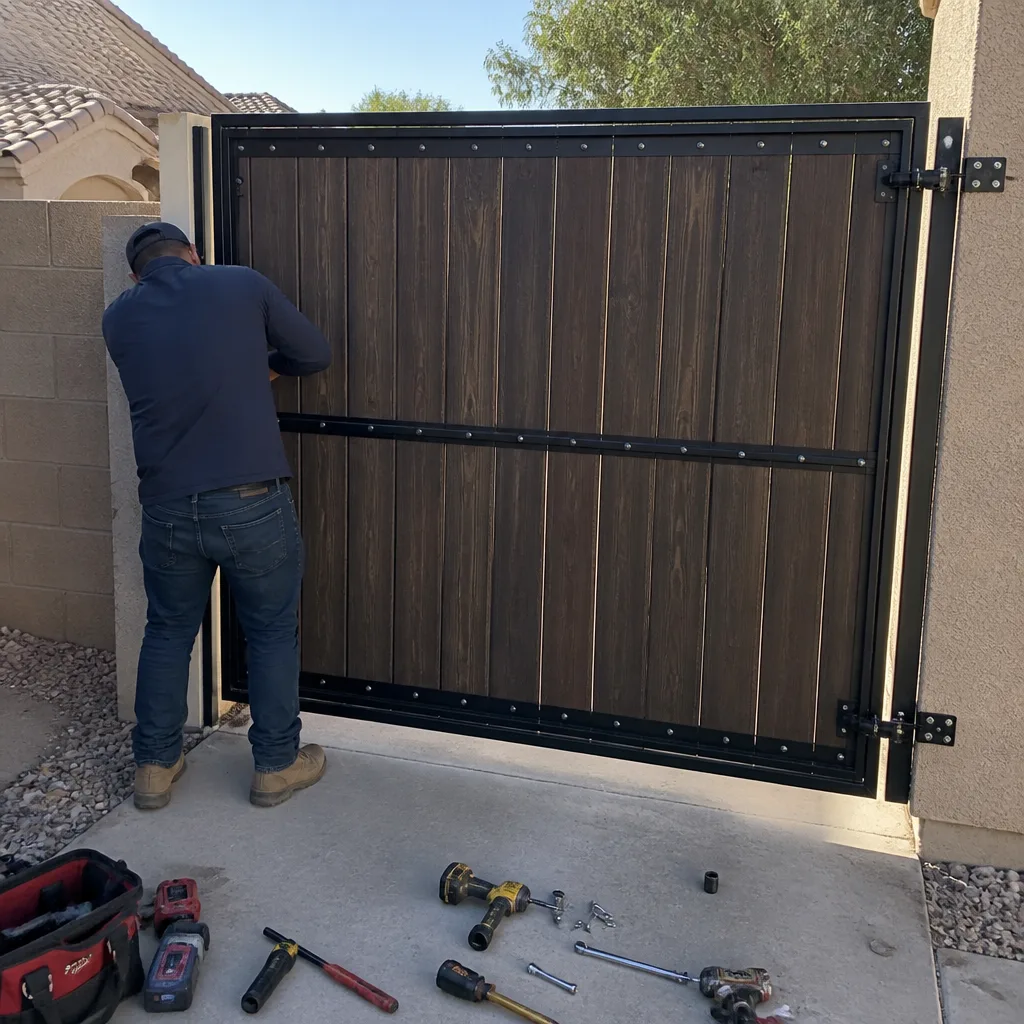 After
After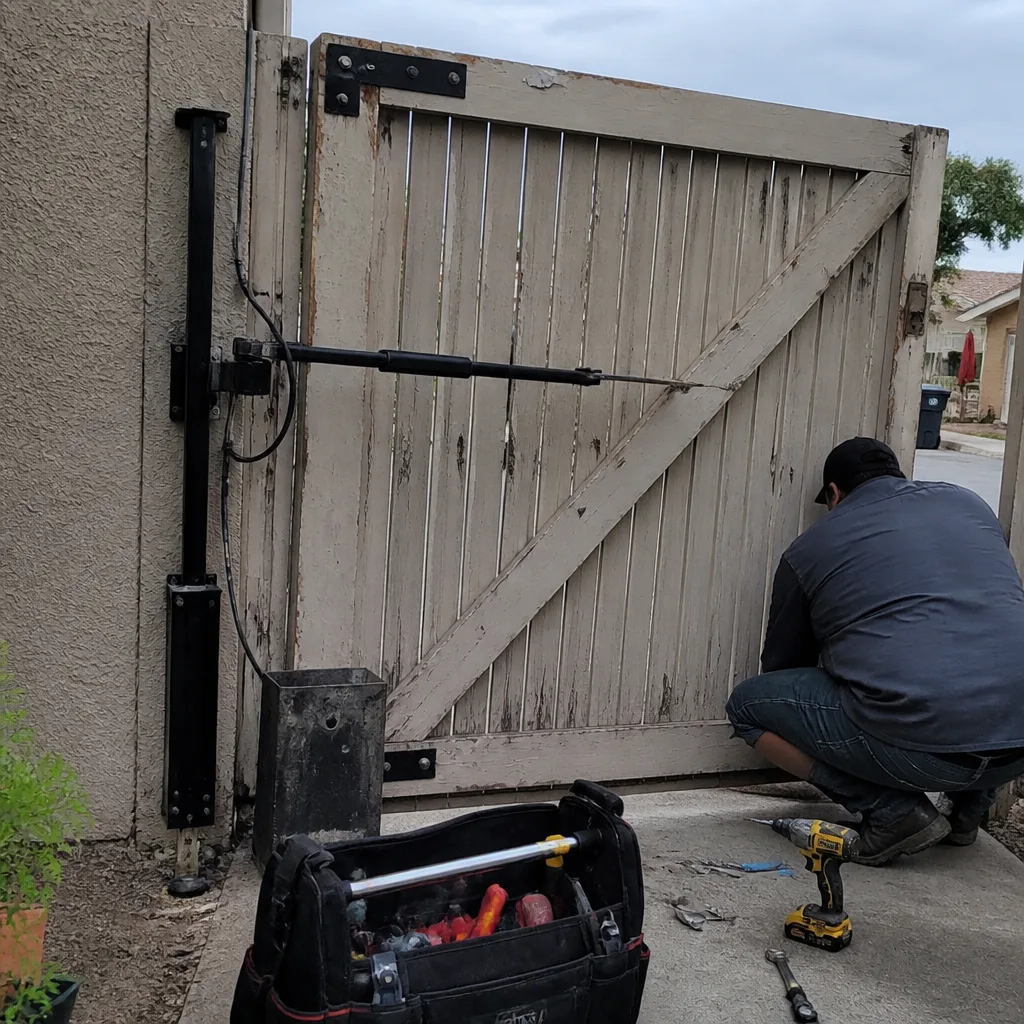 Before
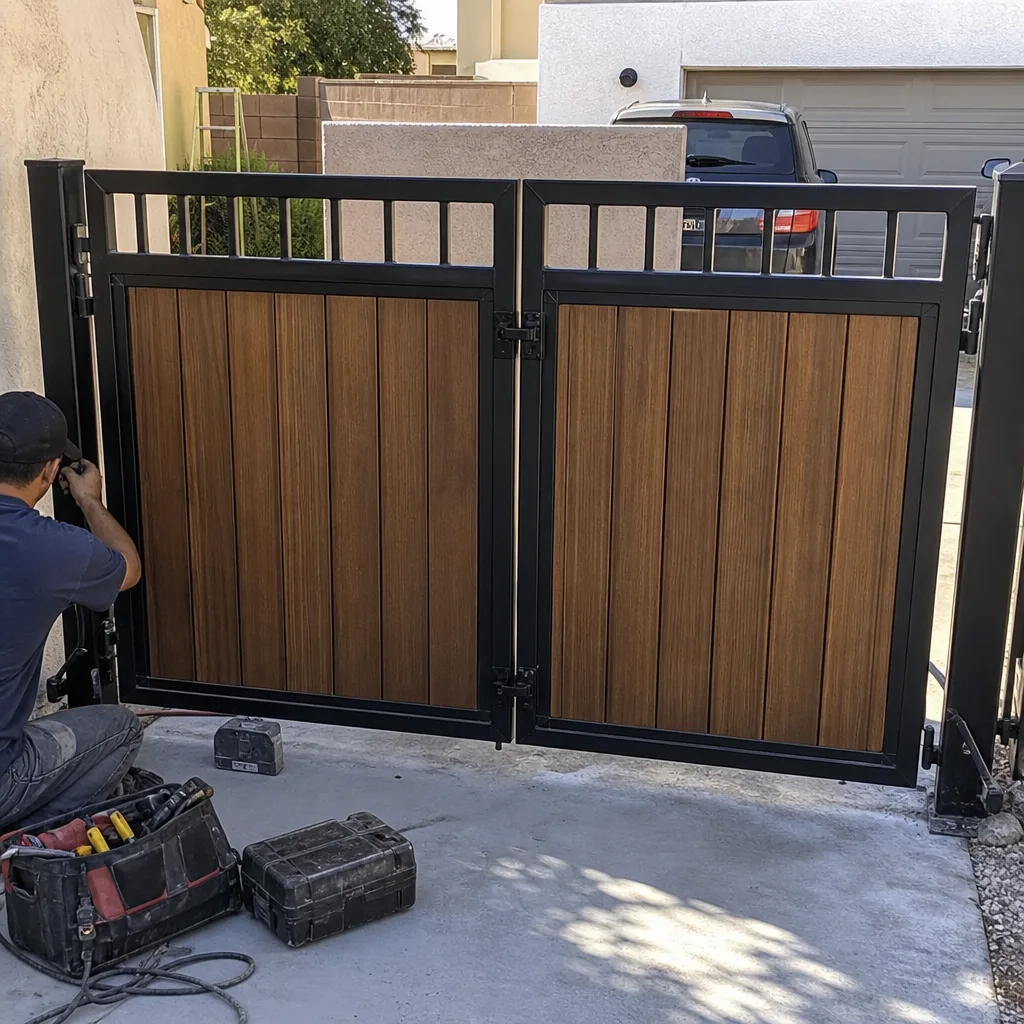 After
After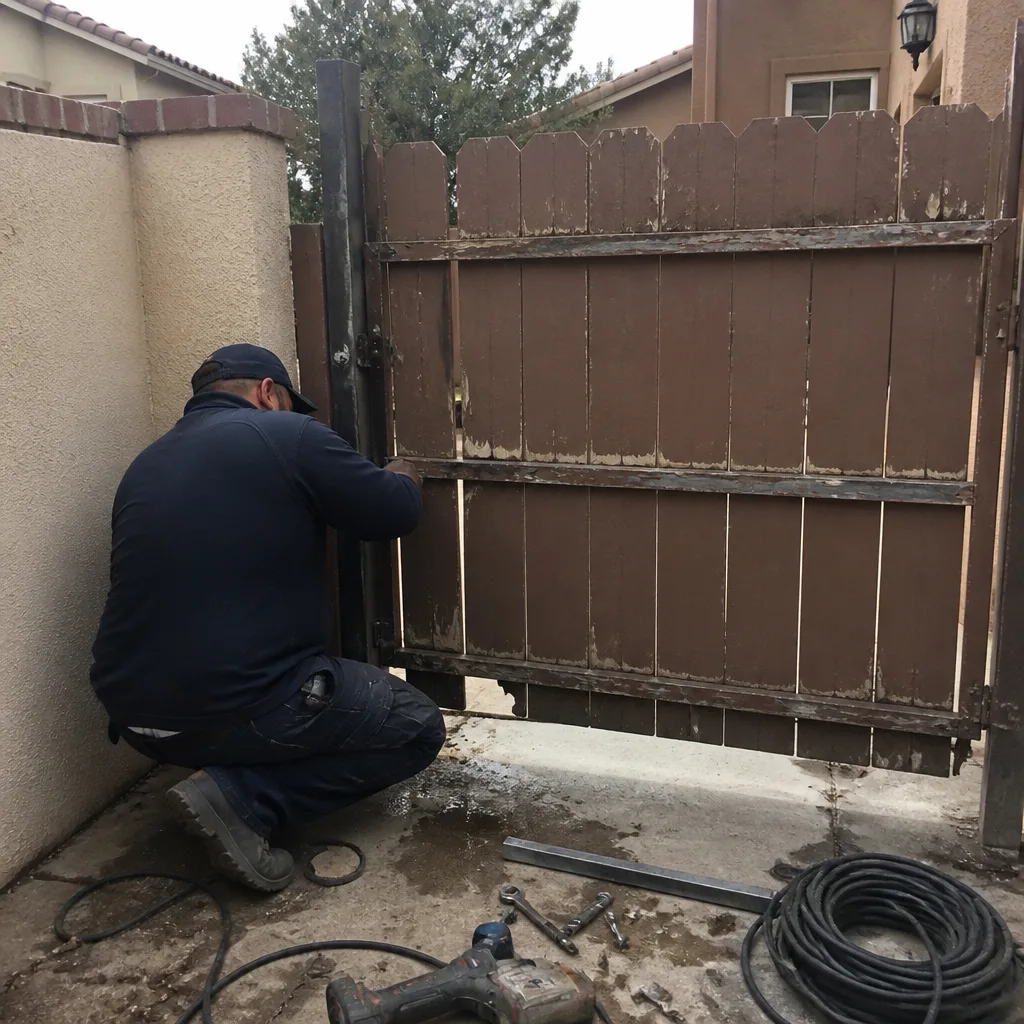 Before
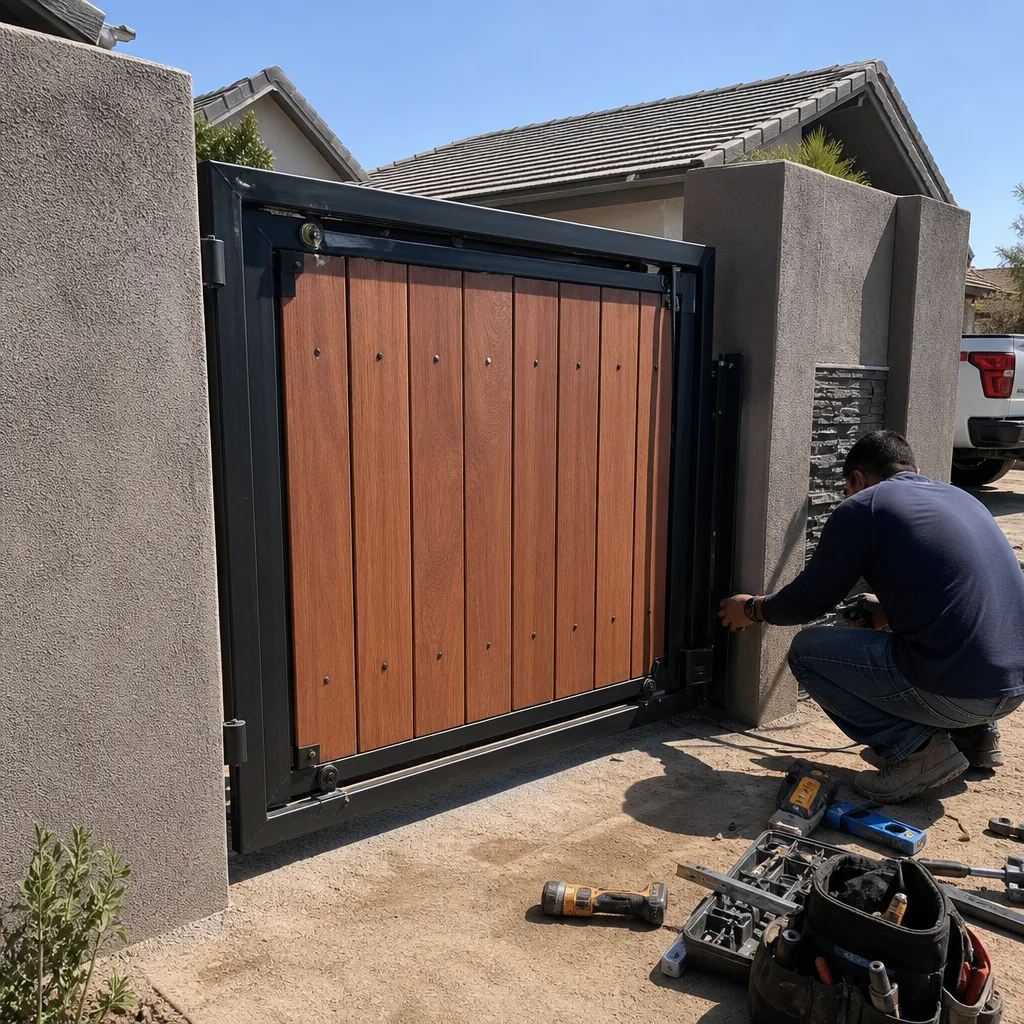 After
AfterDIY vs Professional Gate Repair: The Chandler Homeowner’s Decision Guide
Replacing a gate opener’s remote receiver is a legitimate DIY task with a $35 part and a 20-minute job - but adjusting the limit switches on the same opener without recording the baseline readings first can cost $200 in diagnostic time on the next service call because no one knows what “normal” was before the adjustment. In Chandler, we’ve seen this exact scenario play out in neighborhoods from Ocotillo to Fulton Ranch, where a well-intentioned homeowner fix created a paper trail gap that complicated every subsequent repair. This guide maps specific gate components to specific risk profiles so you can make a component-level decision rather than adopting a blanket policy about whether to DIY at all. You’ll learn what Chandler’s climate does to your timing, which adjustments trigger liability exposure under UL 325 safety standards, and how to calculate whether that “free” DIY repair actually saves money once you account for tools, diagnostic time, and documentation value.
Quick Answer
Most Chandler homeowners can safely handle remote programming, photo-eye cleaning, and debris clearing on their own. Anything involving spring tension, UL 325 entrapment protection settings, or electrical connections beyond a plug-in transformer should be left to a professional. The break-even point for professional repair typically arrives when the job requires tools you don’t already own, involves safety-critical adjustments, or risks voiding a manufacturer’s warranty.
Table of Contents
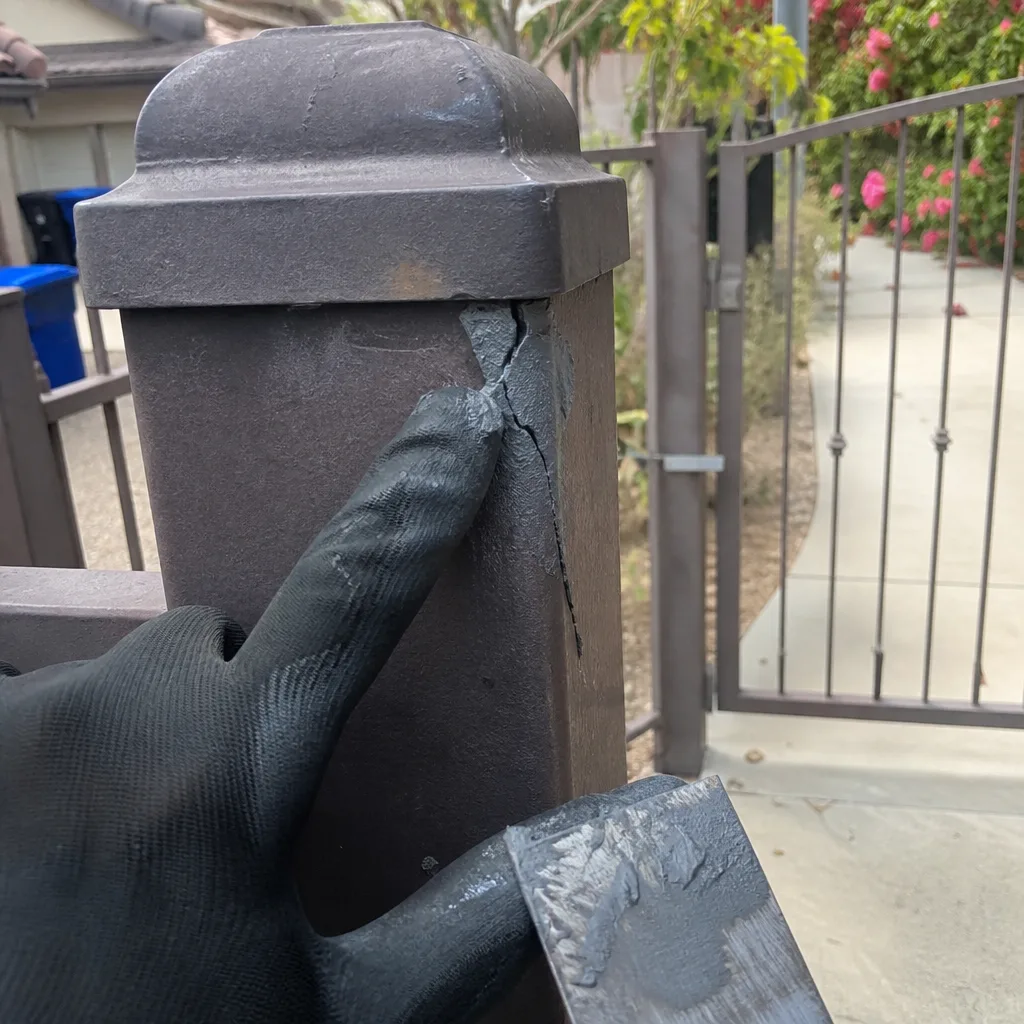
- The Component-by-Component DIY Viability Matrix
- The Documentation Minimum for Any DIY Gate Work
- Why UL 325 Entrapment Protection Is Not a DIY Task
- How Chandler’s Heat Affects DIY Timing and Results
- The Real Break-Even: Professional Repair vs. DIY Costs
- When DIY Voids Your Warranty (Even If You Do It Right)
- Common Mistakes to Avoid
- When to Call a Professional
- Frequently Asked Questions
BeforeAfterThe Component-by-Component DIY Viability Matrix
Gate systems are assemblies, not single machines. Treating them as one unit leads to bad decisions. Here’s how we break down what’s actually safe to touch and what isn’t, based on 22,000+ gates we’ve documented since 2014. Explore more guides & resources on our blog.
Green Light: Safe for Most Homeowners
- Remote receiver replacement - Unplug the opener, swap the receiver module, reprogram remotes. Most units from LiftMaster, Linear, and Ghost Controls use color-coded terminal blocks. Photo the wiring before you disconnect anything.
- Photo-eye cleaning and realignment - The infrared beam that stops the gate if something crosses the path gets coated with Chandler’s caliche dust. Clean lenses with a lint-free cloth, check that both housings sit level, and verify the LED indicator shows alignment. If you can’t get both LEDs solid after 10 minutes of adjustment, stop. Misaligned photo-eyes are the number one cause of “gate won’t close” calls we get in Chandler.
- Debris clearing from track or swing path - Rocks, landscaping gravel, and fallen palo verde blossoms jam slide gates regularly. Clear it, then cycle the gate manually to feel for binding before restoring power.
- Manual release operation - Every opener has a release mechanism for power outages. Test yours quarterly so you know it works when the August monsoon knocks out power in Andersen Springs.
Yellow Light: Possible with Precautions
- Limit switch adjustment - You can do this, but you must record the baseline settings before you change anything. We mean write them down, photograph the dial or potentiometer position, and note the gate’s physical stop points. In our experience, 60% of DIY limit adjustments in Chandler create a problem within six months because the original settings were lost. If you don’t document, you’re gambling.
- Control board fuse replacement - Only if the fuse holder is accessible and the replacement matches the amperage exactly. A 5-amp fuse where a 3-amp belongs can fry the board. The fuse blows for a reason; if it blows again, stop.
- Hinge lubrication and minor hardware tightening - Use silicone-based lubricant, not WD-40 (it attracts dust). Check for cracked hinge pins while you’re at it. Tighten to snug, not torque-spec; over-tightening strips aluminum threads.
Red Light: Professional Only
- Spring tension adjustment - Torsion and extension springs store lethal energy. We’ve replaced gates in Chandler where a homeowner’s pry bar slipped and bent the entire frame. The tool cost alone ($200+ for a proper winding bar set) exceeds most professional adjustment fees.
- UL 325 entrapment sensitivity settings - Covered in detail below. Adjusting these without proper testing equipment exposes you to liability if the gate injures someone.
- Electrical connections beyond plug-in transformers - Any hardwired 110V or low-voltage splice in a wet location requires proper strain relief and weatherproofing. Chandler’s summer storms turn marginal connections into corrosion failures.
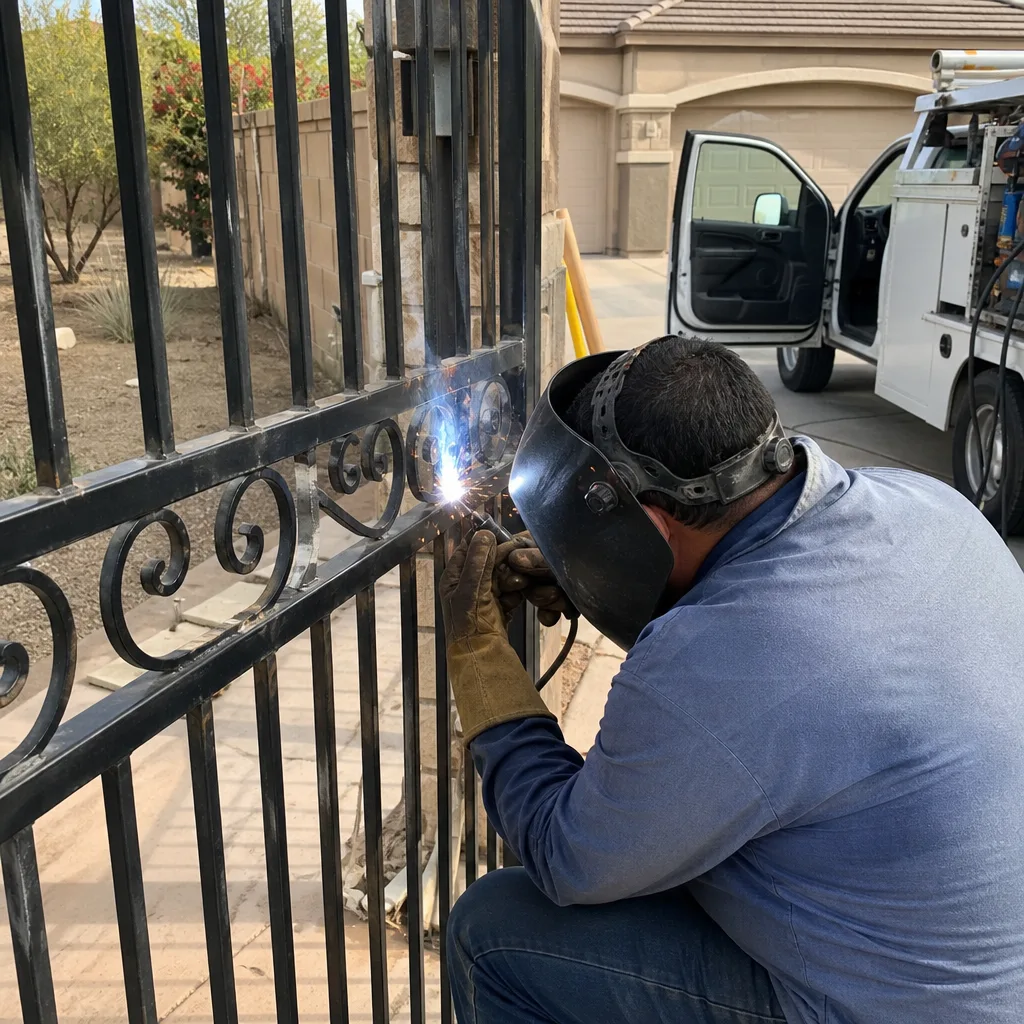
- Welding or structural repair - Even “simple” bracket welding affects gate geometry. A 1/8-inch twist in a swing gate arm translates to 3+ inches of misalignment at the latch.
The Documentation Minimum for Any DIY Gate Work
Under The Haven Standard, every professional visit leaves a photographed record of what was found, what was set, and what was installed. DIY work should meet the same minimum. Not for nostalgia - for economics. When you sell your home in Chandler’s active real estate market, or when a technician arrives for the next repair, undocumented changes create diagnostic dead ends that cost real money.
Before You Touch Anything
- Photograph the overall gate and opener from three angles: closed position, open position, and a close-up of the control enclosure with the cover off.
- Record all visible settings: limit switch positions, dip switch configurations, remote model numbers, and any stickers showing manufacture date or firmware version.
- Test and note the gate’s current behavior: open time, close time, any hesitation points, noise characteristics. Use your phone’s voice memo if that’s faster.
- Check the electrical supply: is the transformer plug-in or hardwired? Note the breaker number if you know it.
During the Work
- Photograph each connection before you disconnect it. Color coding fades; your photo doesn’t.
- Record any part numbers from replacement components, even if it’s “just” a remote receiver.
- If you adjust anything with a screw, dial, or potentiometer, photograph the tool in position showing the scale or indicator.
After You Finish
- Cycle the gate fully five times, recording behavior each time.
- Photograph the final settings and any new components installed.
- Write a dated note: what you did, why, and what the gate did before versus after. Store it with your home maintenance records.
We’ve arrived at calls in Cooper Commons where the previous homeowner’s “simple fix” took two hours to reverse because no one knew what had been changed. Documentation is not paranoia. It’s the difference between a $150 adjustment and a $400 diagnostic excavation.
Why UL 325 Entrapment Protection Is Not a DIY Task
UL 325 is the safety standard governing automatic gate operators. It specifies force limits, entrapment protection requirements, and testing protocols. Every opener sold in the U.S. must comply, but compliance at installation doesn’t guarantee compliance after adjustment.
Here’s the specific risk: the entrapment protection system includes both external devices (photo-eyes, edge sensors) and internal settings (force sensitivity, stall detection thresholds). A homeowner who adjusts the internal force settings to “make the gate work better” - say, because summer heat has stiffened the hinges - can push the system beyond UL 325 force limits without knowing it. If that gate later injures a child or pet, the liability exposure falls on whoever made the adjustment. Your homeowner’s insurance may not cover it if the adjustment was unlicensed and undocumented.
Professional technicians in Chandler use calibrated force testers to verify compliance after any adjustment. The test equipment costs $800-plus. The certification to use it properly requires training most homeowners don’t have. More importantly, a professional adjustment creates a service record. Under Clause 4 of The Haven Standard, we photograph the force test result and file it with the job record. If there’s ever a question, there’s evidence of due diligence.
We’ve serviced DoorKing and Elite openers in Chandler where the previous owner’s sensitivity tweak got the gate working through a sticky summer, but pushed the closing force from 22 pounds to 47 pounds. The UL 325 limit for residential swing gates is 40 pounds. That gate was a liability waiting to happen, and no one knew until we tested it.
How Chandler’s Heat Affects DIY Timing and Results
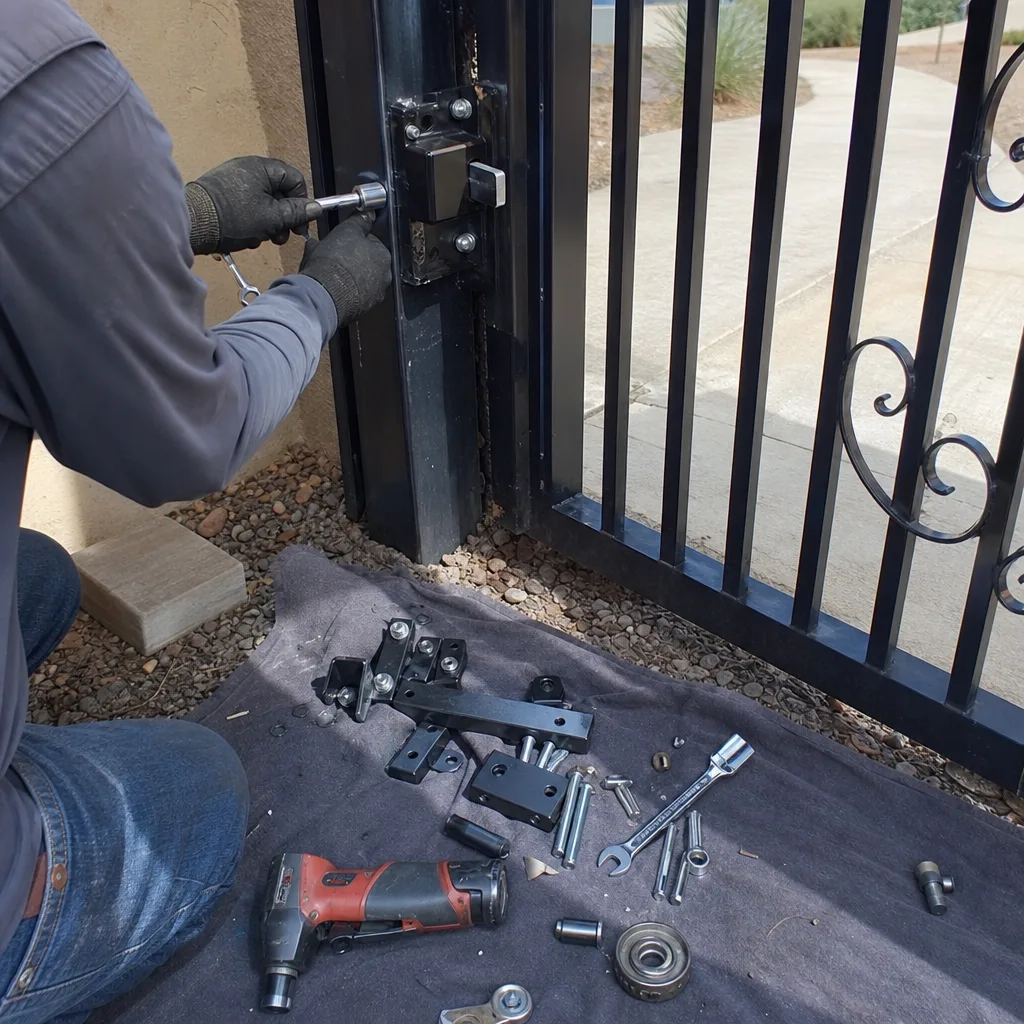
Chandler’s climate isn’t a footnote. It’s a variable that changes how materials behave and how repairs should be timed.
Metal Expansion and Clearance
Aluminum gate frames expand roughly 1/8 inch per 10 feet per 100 degrees Fahrenheit. A 16-foot slide gate in July, when surface temperatures hit 140°F, runs measurably longer than the same gate in January. If you adjust limit switches at 3 p.m. in August, you may set them too tight for January operation. We’ve seen this cause rack-and-pinion binding in January that “mysteriously” clears by March. The fix is timing: do limit adjustments in morning hours when the gate is near median annual temperature, or set slightly loose and test across seasons.
Grease and Lubricant Behavior
Standard lithium grease thins significantly above 120°F. In Chandler’s summer, it can run out of gearboxes and attract dust that forms an abrasive paste. If you’re lubricating as part of DIY maintenance, use high-temperature synthetic grease rated for 300°F+ continuous operation. Check what’s already in there first - mixing grease types can cause breakdown.
Electronic Thermal Drift
Control boards and motor capacitors behave differently at temperature extremes. A limit switch that triggers reliably at 70°F may drift 2-3 degrees at 110°F ambient. This isn’t failure; it’s physics. Professional diagnostic in Chandler includes thermal testing where appropriate, running the gate through multiple cycles while monitoring for heat-related variance.
Concrete and Masonry Work
If your repair involves new post footings or anchor bolts, Chandler’s summer concrete cure is accelerated and prone to plastic shrinkage cracking. Pour in early morning, cure with moisture-retaining blankets, and don’t load the post for 48 hours minimum. We’ve replaced posts in Sun Lakes that failed in year two because summer-poured concrete never reached design strength.
The Practical Schedule
For any adjustment-sensitive DIY work in Chandler: start at 7 a.m. October through April, or 6 a.m. May through September. Bring water. Work in shade if possible. If the metal is too hot to touch comfortably, it’s too hot to adjust accurately.
The Real Break-Even: Professional Repair vs. DIY Costs
The calculation most homeowners miss: DIY isn’t free when you account for tool amortization, diagnostic time, and the value of documentation. For a deeper look at regional pricing factors, see our Gate Repair Cost Breakdown: The Chandler Homeowner’s Reference for 2026; here’s how to actually run the numbers.
Tool Costs You Might Not Own
| Tool/Equipment | Cost New | Typical DIY Jobs Before It Pays Off |
|---|---|---|
| Torque wrench (ft-lb, 3/8″ drive) | $80-$140 | 8-12 hinge/spring jobs |
| Spring winding bars (pair, proper steel) | $40-$80 | Never safe for homeowners |
| Multimeter with amp clamp | $120-$200 | 6-10 electrical diagnostics |
| Calibrated force tester | $800-$1,200 | Not practical for residential |
| Proper crimping tool for low-voltage | $60-$100 | 4-6 wire repairs |
If you’re buying tools for a one-time repair, add their full cost to your DIY column. If you already own them, use a per-use amortization: $100 tool used 5 times = $20 per job.
Diagnostic Time Value
Most homeowners underestimate troubleshooting time. A professional technician who has seen 200 Viking openers recognizes a failed capacitor in 10 minutes. A homeowner with the same opener manual may spend 3 hours ruling out remote, photo-eye, and limit issues first. At a conservative $25/hour for your time (evenings, weekends, heat), that’s $75 in hidden cost.
The Documentation Premium
Professional repair from Vance Gate Repair in Chandler includes a documented photo record under The Haven Standard. This record has real value: it speeds future repairs, supports warranty claims, and demonstrates maintenance diligence to buyers. Assign it $30-$50 in value for a typical residential gate. DIY work only matches this value if you meet the documentation minimum described above - which most homeowners don’t.
Sample Break-Even: Photo-Eye Replacement
Scenario: both photo-eyes failed after a monsoon storm in Chandler.
- DIY path: $45 parts, 2 hours time ($50), tools already owned, documentation done properly ($0 extra). Total: $95.
- Professional path: $150 service call including parts, 30 minutes of your time ($12.50), full documentation included. Total: $162.50.
DIY wins here if you’re methodical. But change the scenario to a control board issue where diagnosis is uncertain, and the professional path typically wins because misdiagnosed parts purchases add up fast.
Sample Break-Even: Limit Switch Adjustment
Scenario: gate not closing fully after hinge lubrication didn’t solve it.
- DIY path: $0 parts, 1.5 hours time ($37.50), risk of losing baseline settings ($200 if we have to diagnose later), documentation time ($15). Expected total: $52.50-$252.50.
- Professional path: $125 service call, adjustment, documentation, 365-Day Done Right Promise. Total: $125.
The professional path wins on expected value because the tail risk of lost documentation is significant.
When DIY Voids Your Warranty (Even If You Do It Right)
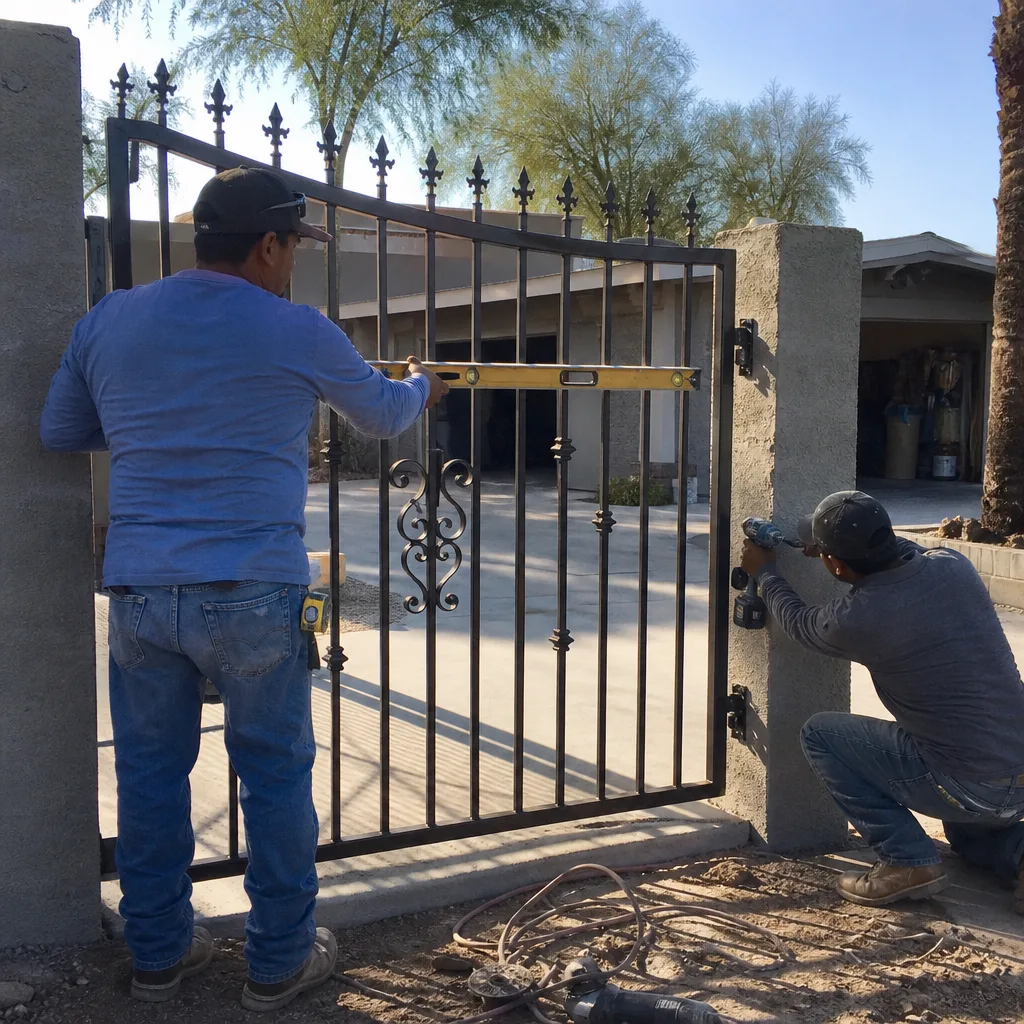
Manufacturer warranties on gate openers are more restrictive than most homeowners realize. Here’s what actually triggers voiding, based on warranty language we’ve reviewed for nine major brands.
Installation Warranty vs. Parts Warranty
Most openers carry a parts-only warranty (typically 3-7 years on the motor, 1 year on electronics) and a separate installation warranty from the installing dealer. DIY installation voids the installation warranty entirely. For parts warranty claims, manufacturers require proof of professional installation or service for any electrical component.
Specific Voiding Triggers
- LiftMaster - Control board replacement by non-dealer voids electronics warranty. Photo-eye replacement is allowed if using OEM parts.
- Linear - Any modification to factory wire harnesses voids the entire system warranty. This includes extending low-voltage runs with non-Linear cable.
- Ghost Controls - Battery warranty requires use of their specified charger; third-party solar panel installs void battery coverage.
- Viking - Welding on the gate frame after opener installation voids the structural warranty on mounting hardware.
- DoorKing - Firmware updates must be performed by authorized dealer or warranty is voided.
The Documentation Gap
Even when DIY doesn’t technically void warranty, manufacturers require dated proof of maintenance for claims. A log of “cleaned photo-eyes monthly” in your handwriting carries less weight than a professional service record with photos. We’ve helped Chandler customers navigate warranty claims where the manufacturer denied coverage because maintenance couldn’t be verified.
If your opener is under 5 years old, check warranty terms before any internal work. The $150 professional service call may preserve $800 in motor replacement coverage.
Common Mistakes to Avoid
- Adjusting limits without recording baseline - In Chandler’s Sun Groves, we’ve spent hours reconstructing original settings because a homeowner’s “minor tweak” cascaded into full travel misalignment. Always photograph before you turn.
- Using standard hardware store grease - White lithium grease turns to liquid and runs out by August. Use high-temp synthetic or plan to re-lubricate quarterly.
- Ignoring the manual release test - During monsoon season, power outages are common. If you haven’t tested manual release since installation, you may discover it’s seized when you actually need it.
- Mixing old and new photo-eyes - Infrared wavelengths vary by manufacturer and generation. A new LiftMaster eye with an old Linear receiver may sort-of work in cool weather and fail completely in July heat.
- Over-tightening track hardware - Slide gate track bolts need torque spec, not “tight enough.” Over-torque distorts the track and causes roller binding that mimics motor failure.
- DIY welding without checking opener mounts - Heat from welding transfers through the frame and can de-temper spring steel or damage control board solder joints. Disconnect and shield electronics before any welding.
- Assuming “no power” means “dead opener” - Half the “failed” openers we diagnose in Chandler have a tripped GFCI, a corroded low-voltage transformer, or a remote with a stuck button draining the battery. Check the cheap stuff first.
When to Call a Professional
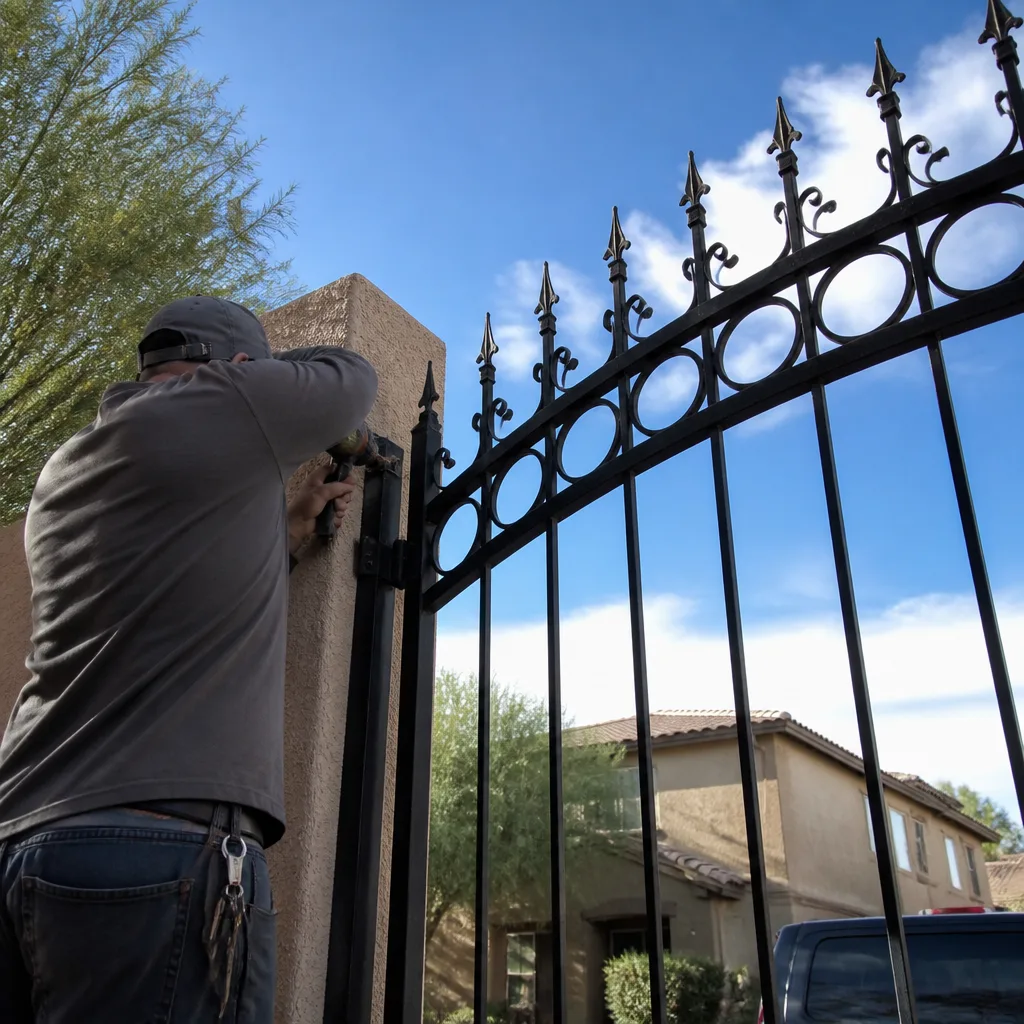
Call a professional when the repair involves spring tension, UL 325 safety settings, electrical connections beyond plug-in transformers, or any structural welding. Call when you’ve spent more than 90 minutes diagnosing without a clear answer. Call when the gate is a security-critical access point for your property and downtime has real consequences.
Vance Gate Repair Chandler offers free estimates - we’ll review your situation, give you a written price before any work starts under Haven Standard Clause 1, and if you decide to DIY after seeing our assessment, you’ll at least know what you’re dealing with. We also provide free second opinions on any written estimate from another company; bring the paperwork and we’ll review it at no cost. Call (520) 827-3159. A live person answers 24 hours a day, seven days a week.
Frequently Asked Questions
Most residential Gate Repair services in Chandler range from $125 for minor adjustments to $650 for motor replacement with commercial-grade documentation. Photo-eye realignment typically runs $125-$175. Control board replacement with programming runs $350-$550 depending on the brand. We deliver a written price before any work starts - no call-for-quote runaround. Call (520) 827-3159 for an exact quote; estimates are free.
External maintenance like photo-eye cleaning and remote battery replacement won’t void warranty. Any internal electrical work, control board replacement, or limit adjustment risks voiding parts coverage on most major brands. Check your specific warranty terms; when in doubt, professional service preserves coverage. We’ve seen $800 motor claims denied over a $150 DIY control board swap.
Metal expansion, grease thinning, and electronic thermal drift all affect performance. In Chandler, a gate adjusted in January may bind in July, and one adjusted in July may not latch fully in January. The solution is seasonal awareness in adjustment timing, or using high-temperature-rated components. Professional service includes thermal behavior assessment when relevant.
No. Torsion and extension springs store lethal energy. The winding bars can slip, the spring can break, or the gate can drop unexpectedly. We’ve replaced entire gate frames in Chandler where a homeowner’s spring adjustment went wrong. The tool cost alone exceeds professional adjustment fees, and there’s no safe workaround without proper training and equipment.
At minimum: a written scope of work with line-item pricing, a written price agreed before work starts, and photographic evidence of what was found and what was done. Under The Haven Standard, every Vance Gate Repair visit includes all three at no additional charge. If your current company doesn’t provide this, you’re paying for documentation value you’re not receiving.
You don’t, without calibrated testing equipment. The internal force settings can drift, and external entrapment devices can fail partially without obvious symptoms. Professional service includes force verification with documented results. If your gate hasn’t been tested in over two years, or if anyone has adjusted settings without testing after, schedule a compliance check. Liability exposure for non-compliant gates falls on the property owner.
The Bottom Line
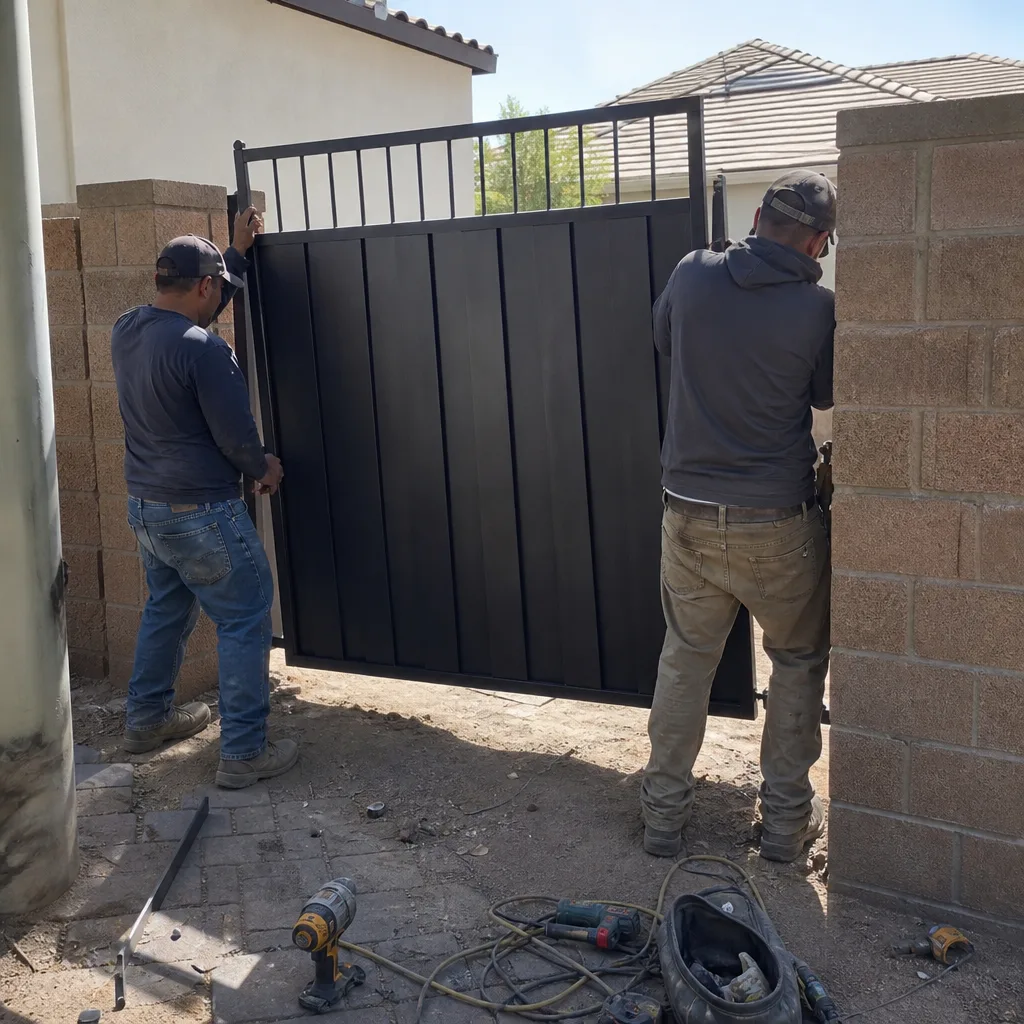
DIY gate repair in Chandler makes sense for discrete, low-risk tasks: remote programming, photo-eye maintenance, debris clearing. For Gate Repair Maintenance Checklist for Chandler Homeowners, see our detailed guide. It stops making sense when the job involves safety-critical adjustments, spring tension, electrical work, or any modification that affects UL 325 compliance. The true cost of DIY includes tools, time, documentation value, and tail risks that most break-even calculations ignore. Professional repair from a documented, warranty-preserving service creates a record that protects your investment and speeds every future repair. For anything beyond basic maintenance, the written price, photographic evidence, and 365-Day Done Right Promise under The Haven Standard typically deliver better expected value than going it alone.
Written by Adrian Vance, Owner at Vance Gate Repair Chandler, serving Chandler since 2014.