
Last updated September 22, 2026
Free on-site gate assessment - hinges, posts, and your LiftMaster or Nice gate operator checked before anything is quoted
The assessment is free and the quote is the invoice.

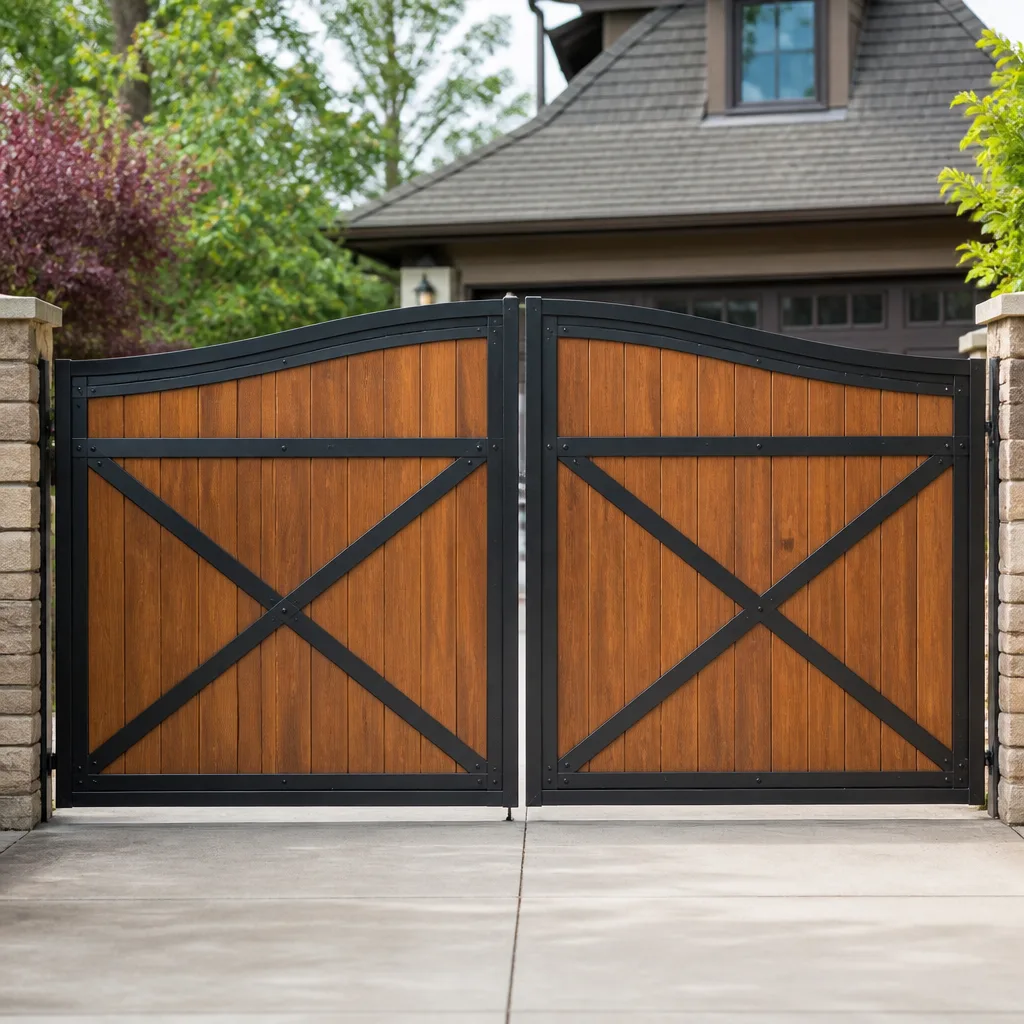
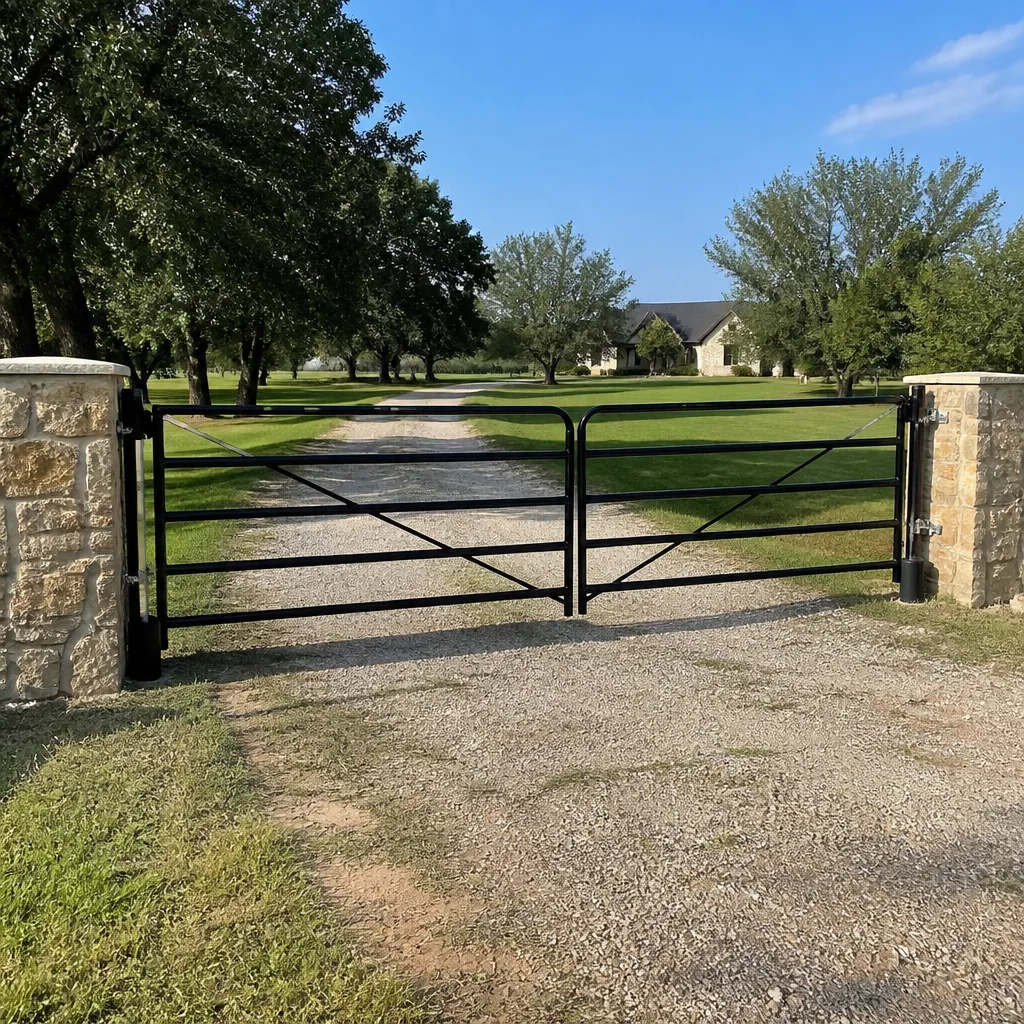
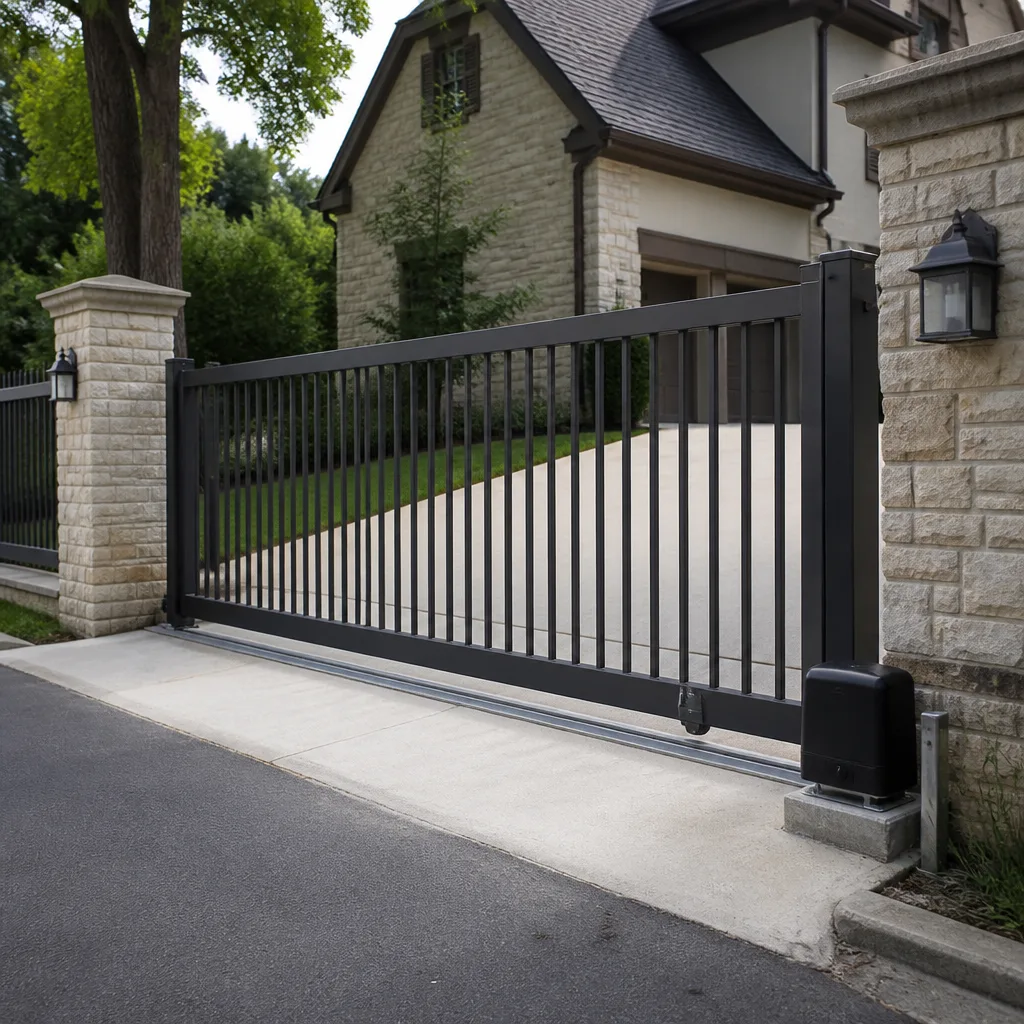
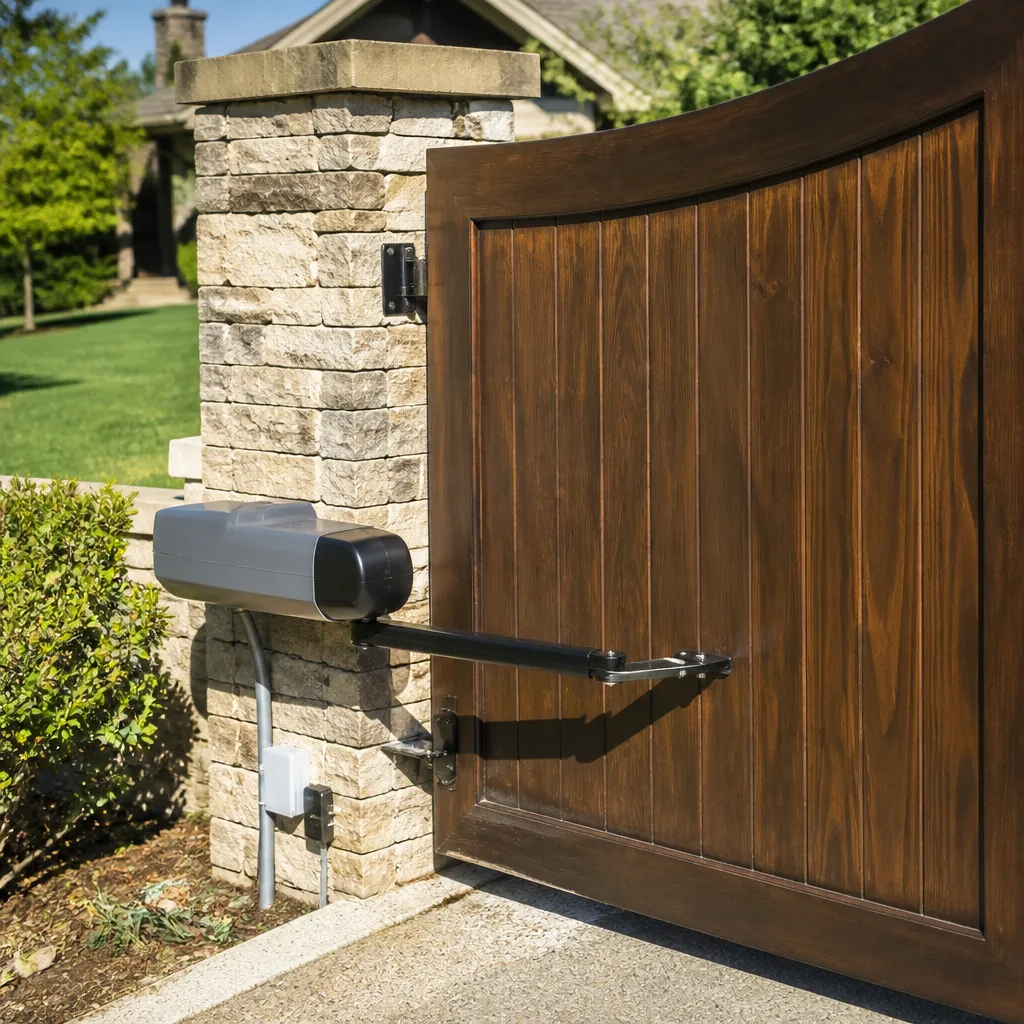
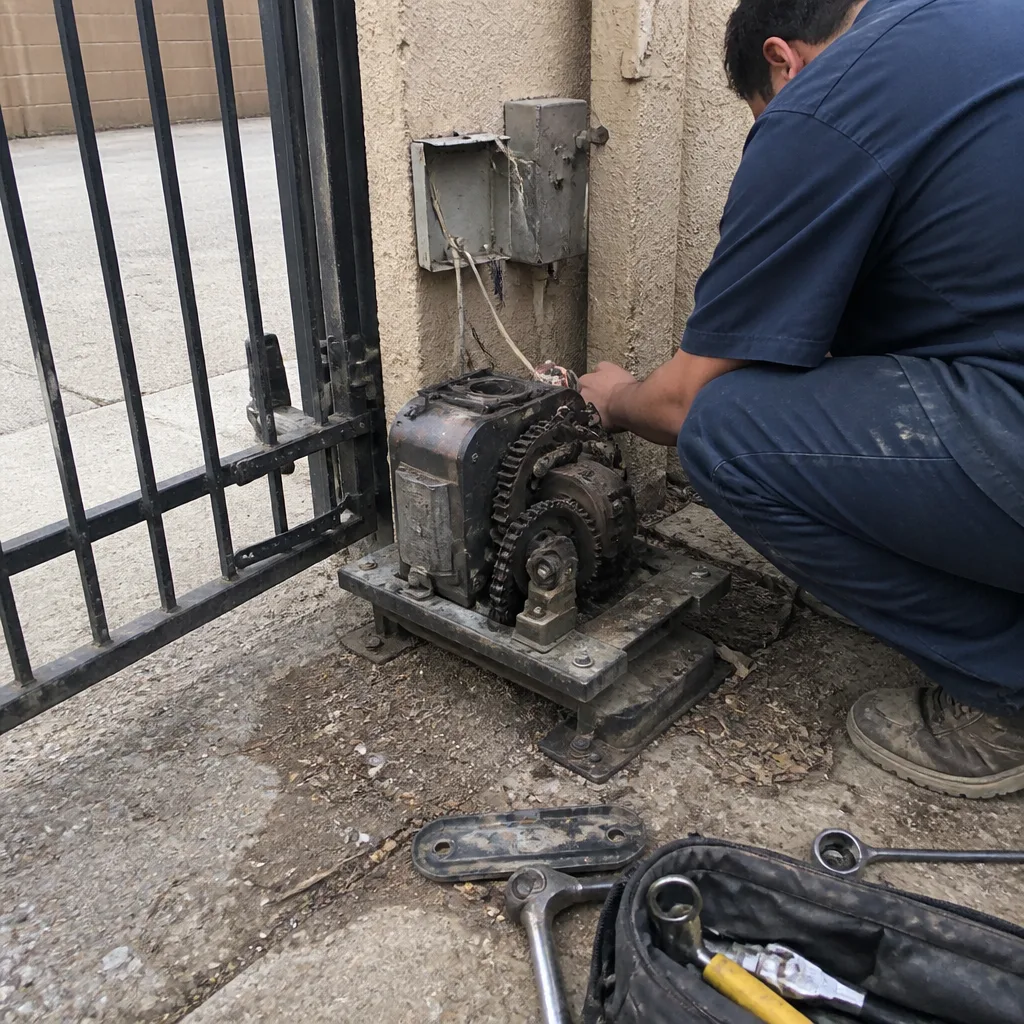 Before
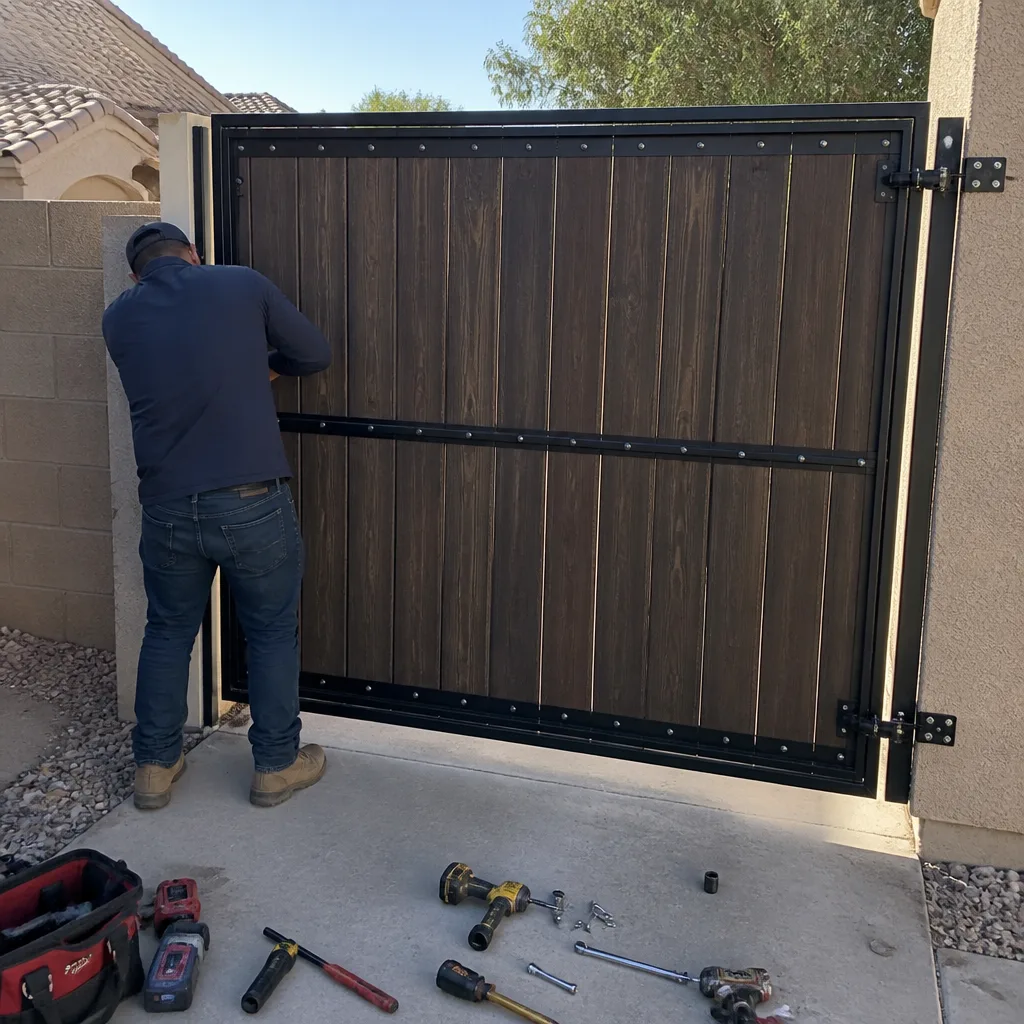 After
After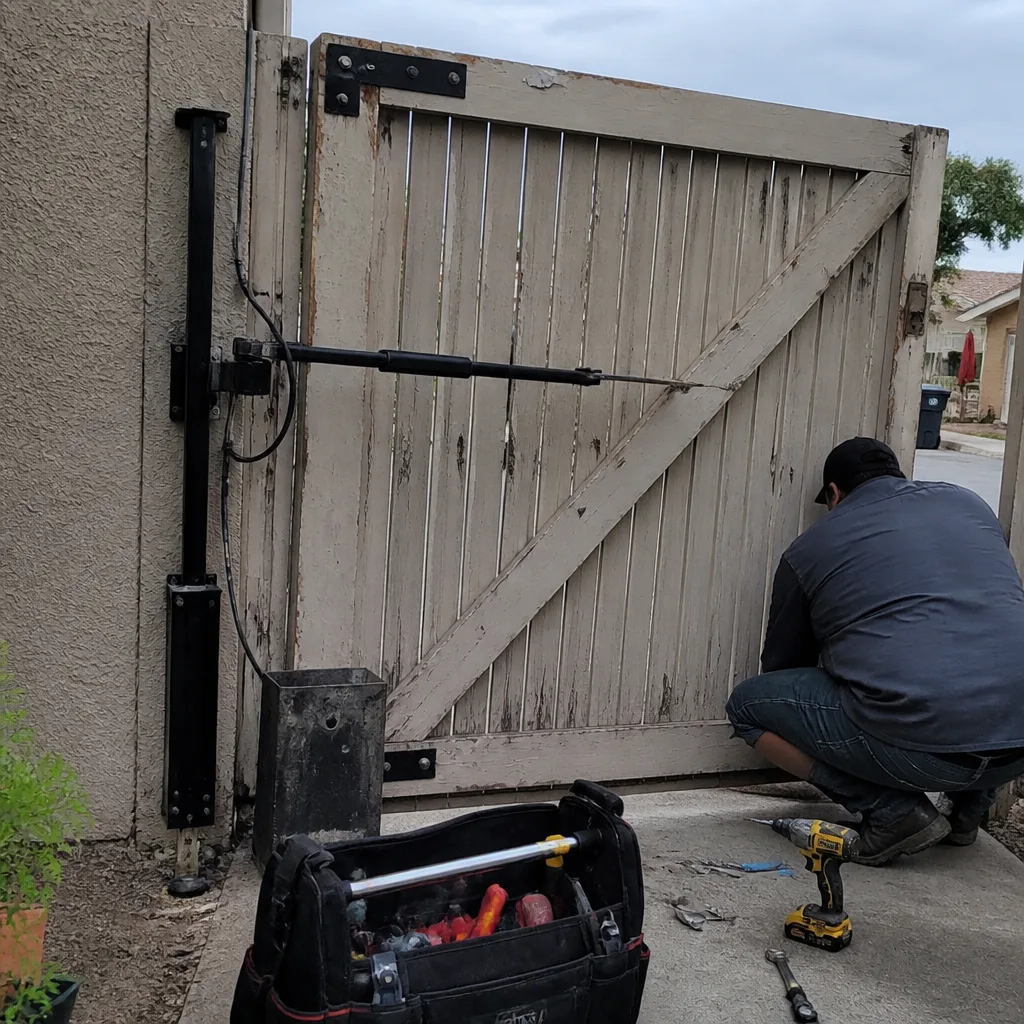 Before
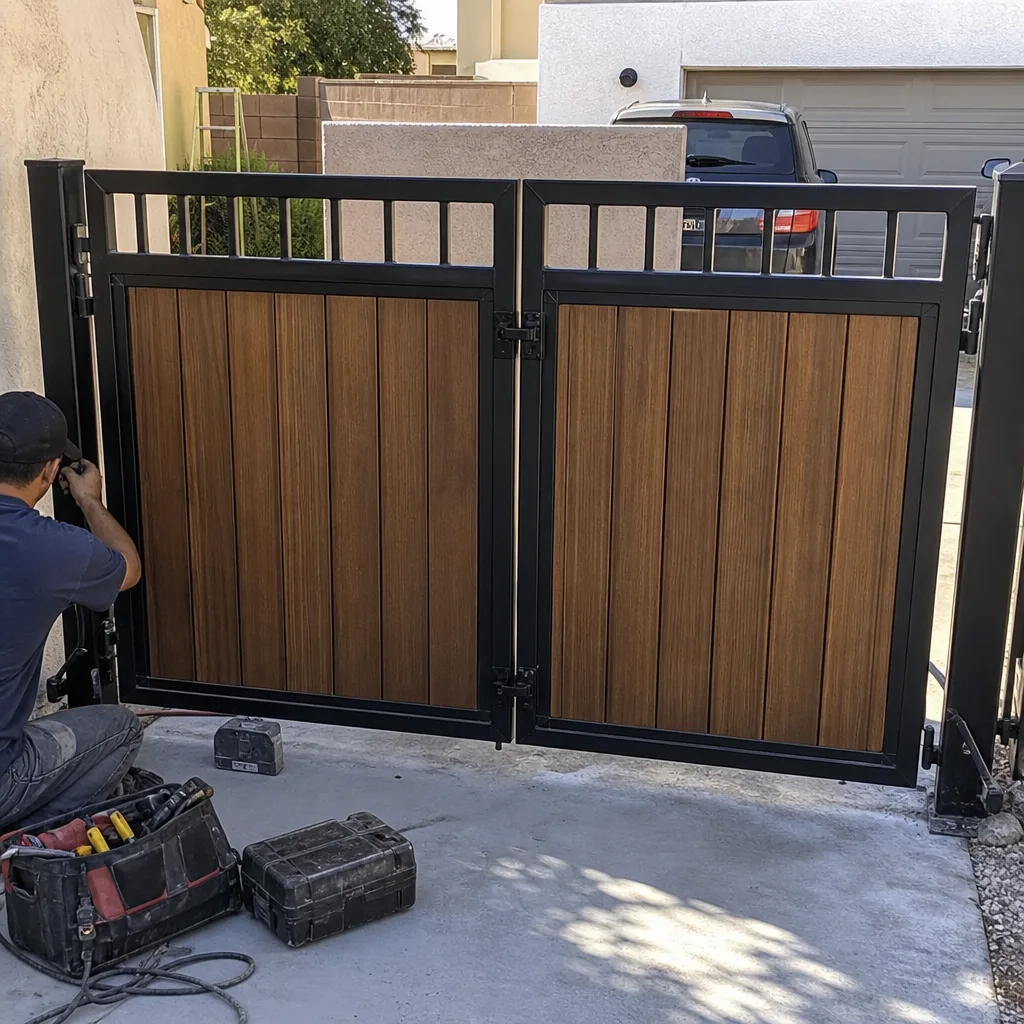 After
After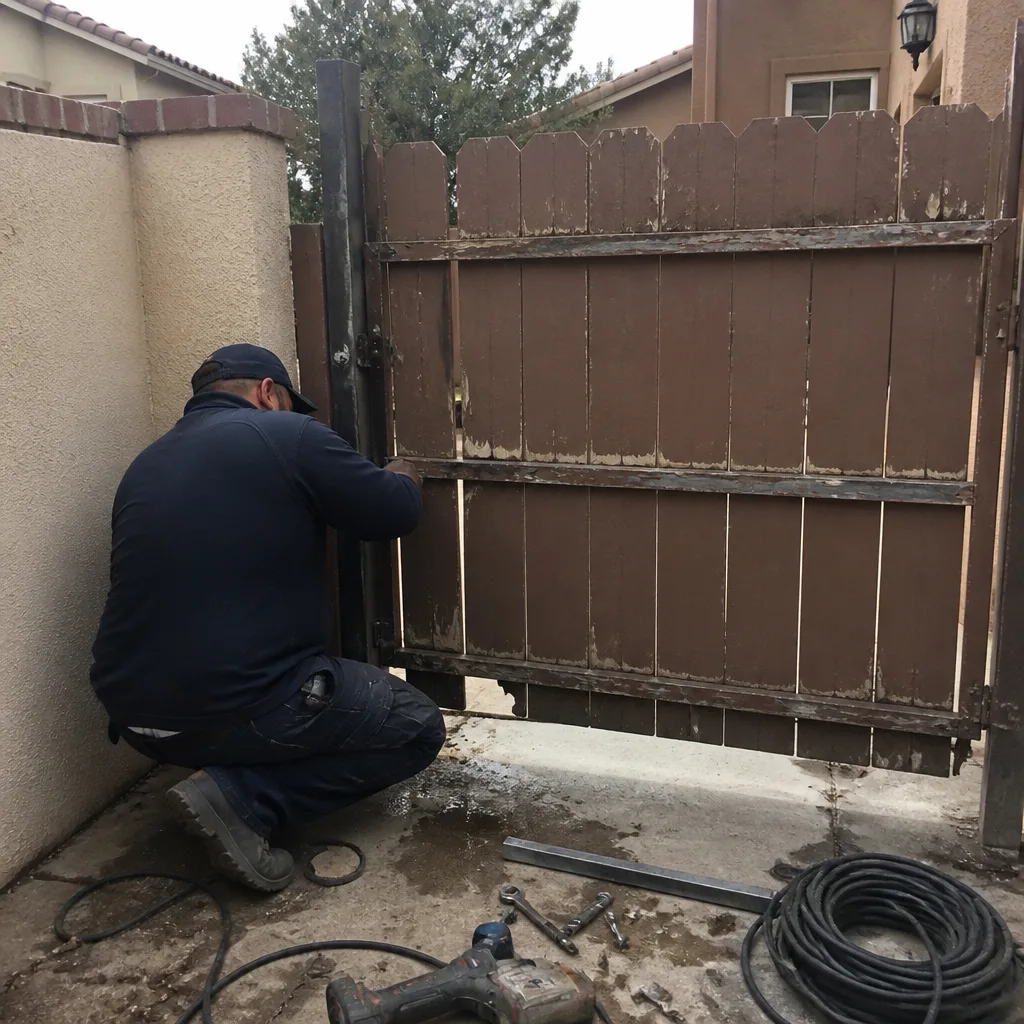 Before
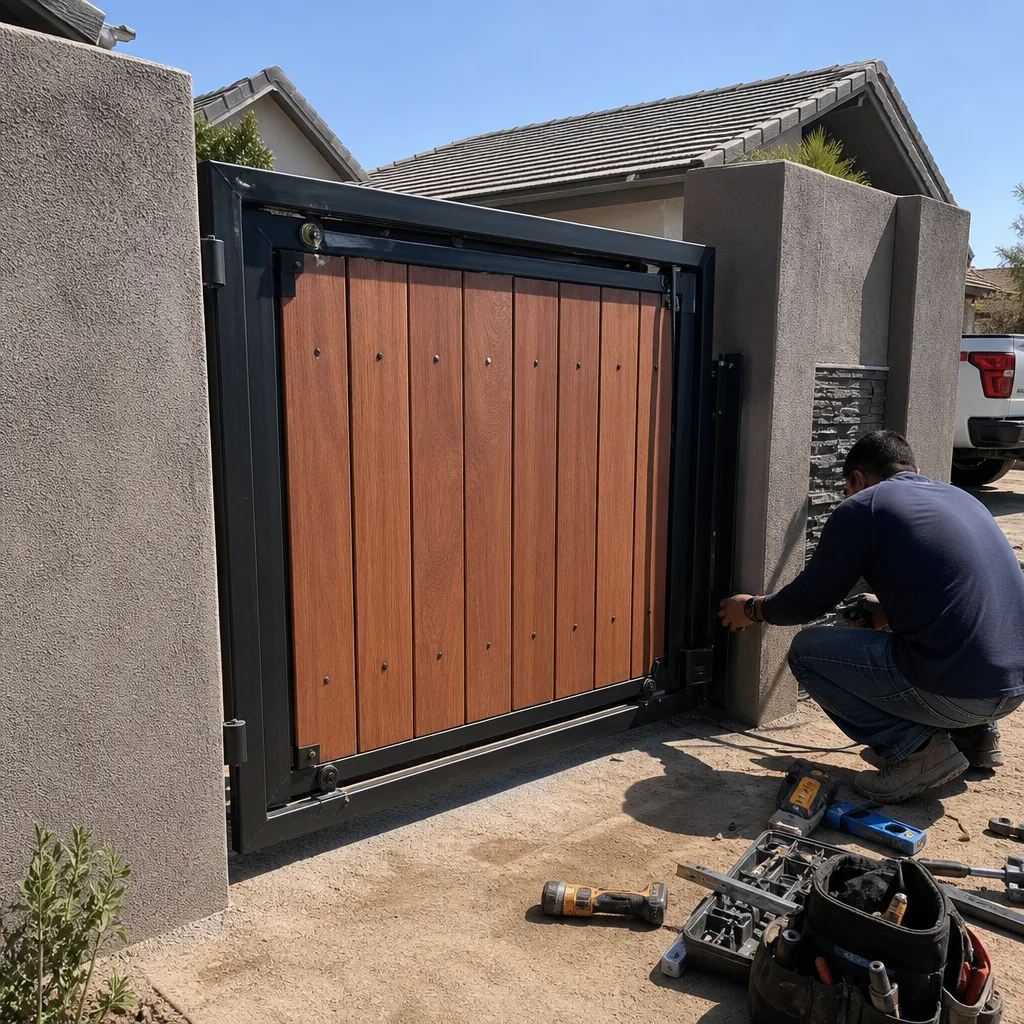 After
AfterGate Repair Maintenance Checklist for Chandler Homeowners
Dust from Chandler’s haboob season isn’t just cosmetic. A single storm can pack enough fine particulate into a gate operator’s circuit board housing to cause intermittent faults that take three separate service calls to trace back to the original contamination event. We’ve seen it on LiftMaster and DoorKing units alike in Ocotillo and Fulton Ranch: the gate works fine Monday, stalls Wednesday, and won’t close Friday, with no single component failed because the failure is distributed across every contact surface inside the control box.
This guide gives you a maintenance checklist built around what actually deteriorates in Chandler’s climate, with inspection intervals tied to seasonal events rather than arbitrary monthly reminders, and points you to more guides & resources for ongoing reference. You’ll learn how to read your own limit-switch positions, what to photograph before and after monsoon season, which lubrication schedules hold up in sustained 110-degree heat, and which DIY tasks quietly void most manufacturer warranties.
Quick Answer
A proper gate maintenance routine for Chandler homeowners includes pre-monsoon sealing and post-haboob cleaning of operator housings, quarterly lubrication of chain drives (not the standard 6-month interval), monthly photo-eye alignment checks, and annual limit-switch position documentation with a multimeter. Perform these tasks on a seasonal schedule tied to Arizona’s dust and thermal cycles, not a generic calendar, and keep dated photographs of every adjustment to establish baseline readings for future technicians.
Table of Contents
- Pre-Monsoon and Post-Haboob Inspection Protocol
- How to Read Limit-Switch Positions Yourself
- Lubrication Intervals for Chandler Heat
- Photo Documentation Method for Homeowners
- Warranty-Voiding Maintenance Tasks
- Monthly, Seasonal, and Annual Checklist
- Common Mistakes to Avoid
- When to Call a Professional
- Frequently Asked Questions
BeforeAfterPre-Monsoon and Post-Haboob Inspection Protocol
Chandler’s monsoon season runs roughly July through September, but the dust doesn’t wait for the rain. Pre-season winds in late June can lift enough particulate to coat circuit boards before the first storm cell forms. The maintenance window is narrow: you want seals checked and housings cleaned before the dust arrives, and you want a second inspection within 72 hours of any haboob event to catch intrusion before it migrates from the housing exterior to the board itself.
Pre-Monsoon Tasks (Late June)
- Inspect operator housing gaskets. The rubber or foam seal around the control box lid compresses over time in Chandler heat. Look for cracking, hardening, or gaps where the lid meets the base. A failed gasket won’t show itself until dust is already inside.
- Verify drain holes are clear. Most operators have small weep holes at the housing base to let condensation escape. These clog with dust and spider debris. Clear them with a pipe cleaner, then photograph the opening for your record.
- Test the manual release. Monsoon power outages are common in Chandler. The manual release mechanism must move freely when you’re standing in a dust storm with a flashlight. Lubricate the release arm if it binds, and operate the gate by hand to confirm it doesn’t stick mid-travel.
- Check photo-eye alignment. Wind before storms shifts mounting brackets. Measure the beam path with a string line if you don’t have an alignment tool. Document the bracket position with a photo showing the measurement.
Post-Haboob Tasks (Within 72 Hours)
- Open the operator housing. Use compressed air at low pressure to blow dust off the board, not toward it. Never use a shop vacuum; static discharge from plastic nozzles can damage surface-mount components.
- Inspect contact terminals. Dust between terminal screws creates resistive paths that generate heat. Look for any gray film on copper surfaces. If you find it, power down the unit and clean with electrical contact cleaner, not WD-40.
- Cycle the gate 10 times. Intermittent faults often appear only after thermal cycling. Watch for stalls, reversals, or incomplete closures that weren’t present before the storm.
- Photograph the interior. This is your post-event baseline. If you call a technician in three months, you have evidence of what the board looked like immediately after cleaning.
We’ve documented cases in Chandler’s Andersen Springs neighborhood where a gate operated normally for six weeks after a July 2023 haboob, then began random reversals. The board showed no visible damage, but microscopic analysis revealed silica particles embedded in the encoder wheel’s optical path. The homeowner’s post-storm photo showed clean components, proving the intrusion happened later through a compromised gasket, not during the original event. That distinction saved a warranty claim with the manufacturer.
How to Read Limit-Switch Positions Yourself
Limit switches tell the gate motor when to stop opening and when to stop closing. In Chandler’s climate, thermal expansion of metal gate frames shifts these positions gradually. A gate that closed fully in March may leave a two-inch gap by August, not because the motor failed, but because the frame expanded and the switch no longer triggers at the same physical point.
Most homeowners discover this only when the gap becomes obvious. By then, the motor has been straining against an incomplete close cycle for weeks, shortening its life. Documenting baseline readings lets you detect drift before it becomes visible.
What You’ll Need
- A digital multimeter with DC voltage measurement
- Access to the operator’s terminal block (power off, then on for measurement)
- The operator manual to identify limit-switch terminals (usually labeled OPEN LIMIT and CLOSE LIMIT, or similar)
- A notebook or phone note with date and gate position
Step-by-Step Reading
- Power down the operator at the disconnect. This is non-negotiable; you’re opening the housing.
- Identify the limit-switch terminals. On a LiftMaster LA500, these are typically terminals 5 and 6 for open and close limits. Check your specific manual; terminal numbers vary by model and revision.
- Set your multimeter to DC voltage. The limit circuit usually runs at 24V DC or the operator’s control voltage.
- Power on and measure at full open. With the gate fully open, place one probe on the OPEN LIMIT terminal and one on common (usually terminal 1 or COM). Record the voltage. It should read near zero or near supply voltage depending on switch type; what matters is consistency, not the absolute number.
- Measure at full close. Run the gate to fully closed. Measure CLOSE LIMIT to common. Record this value.
- Measure physical position. With a tape measure, record the gap between gate edge and latch post at full close, and the extension of the gate past the hinge post at full open.
- Repeat seasonally. Compare readings. A voltage change or a physical gap change of more than half an inch indicates adjustment is needed.
Store these readings with your photo documentation. When you call gate repair in Chandler, you can tell the technician: “The close limit read 23.8V in March and 19.2V in August, with a 1.5-inch gap.” That sentence eliminates half the diagnostic time. Under the Haven Standard, our technicians record their own limit-switch readings after adjustment and leave you a copy, but your seasonal records let us spot trends across multiple years, not just the current visit.
Lubrication Intervals for Chandler Heat
Standard manufacturer recommendations assume moderate climates. In Chandler, where chain drives operate in ambient temperatures above 110°F for weeks at a stretch, those schedules fail. Heat thins lubricant, accelerates oxidation, and bakes dust into whatever grease remains. A six-month lubrication interval that works in Portland leaves a Chandler gate running dry by month three.
Component-Specific Schedules
| Component | Standard Interval | Chandler Interval | Product Type |
|---|---|---|---|
| Chain drive | 6 months | 3 months (April, July, October) | White lithium grease, NLGI #2 |
| Rack and pinion | 6 months | 4 months (April, August, December) | White lithium grease |
| Hinge pins and bushings | 12 months | 6 months (April, October) | Heavy-duty lithium with moly |
| Slide gate rollers | 6 months | 3 months | Dry Teflon-based lube (attracts less dust) |
| Manual release mechanism | 12 months | 6 months, test monthly | Light machine oil |
Application Notes for Desert Conditions
Chain drives are the most critical. In our experience across Chandler’s Cooper Commons and Sun Groves neighborhoods, chain elongation from inadequate lubrication is the leading cause of premature sprocket wear. The chain doesn’t just need grease; it needs grease that hasn’t been cooked into a hardened shell. When you apply fresh lubricant, run the gate through two full cycles to distribute it, then wipe the exterior chain surfaces with a rag. Exposed grease collects dust, which acts as grinding compound.
For slide gates, dry Teflon-based lubricants outperform wet greases. They attract less airborne particulate and don’t form the abrasive paste that destroys roller bearings. Reapply more frequently, but use less product per application.
Never use WD-40 as a lubricant on any gate component. It’s a water displacer and light solvent, not a bearing lubricant. We’ve replaced hinge pins in Chandler that were “maintained” with WD-40 for years; the pins were rust-welded in place because the solvent stripped existing grease and evaporated, leaving bare metal exposed to monsoon humidity.
Photo Documentation Method for Homeowners
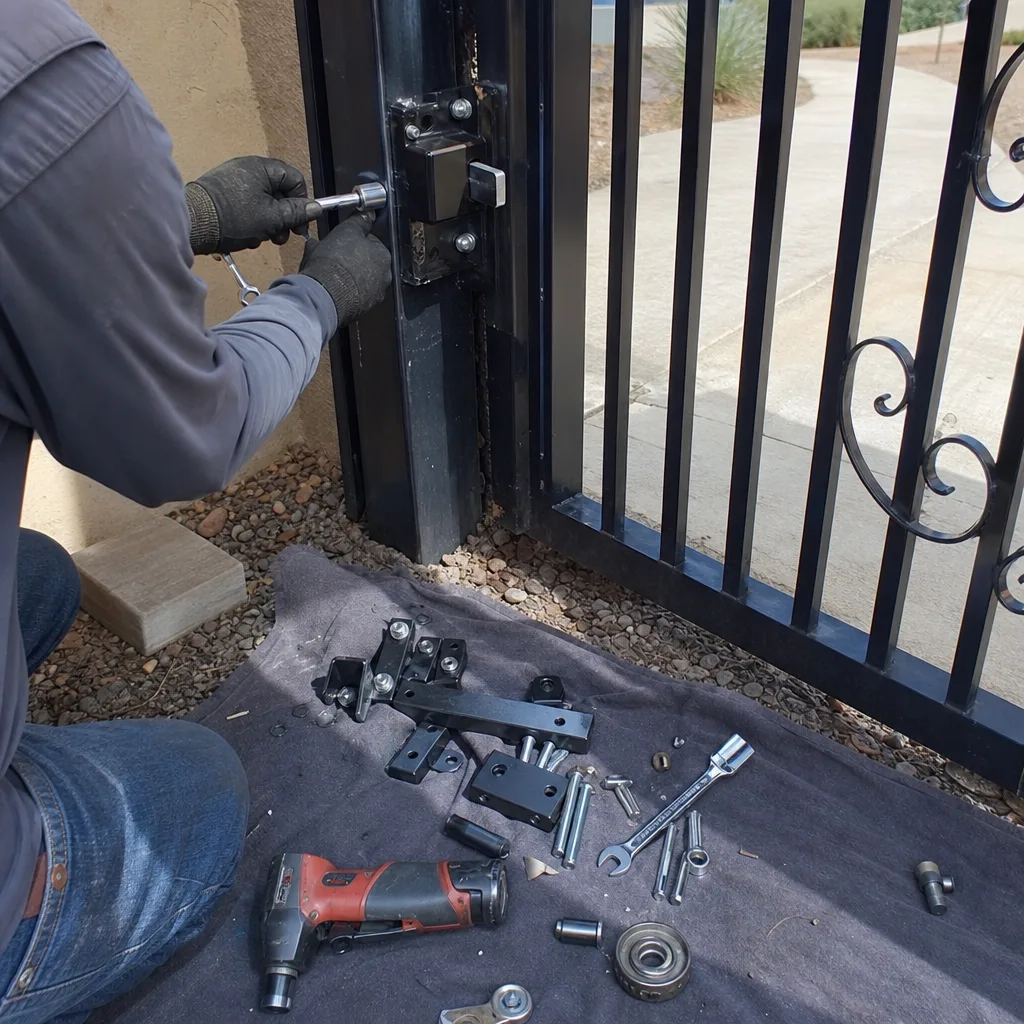
The Haven Standard requires our technicians to leave a documented photo record on every visit. You can extend that practice to your own maintenance, creating a baseline that future technicians, including ours, can reference. This isn’t about becoming a photographer; it’s about capturing four specific views that answer the questions technicians always ask.
The Four Required Photos
- Full gate, full open. Stand at the latch post and shoot the gate at maximum extension. Include the hinge post and any visible operator arm. This shows overall geometry and reveals sag that develops gradually.
- Full gate, full close. Same position, gate closed. Show the gap between gate edge and latch, and any latch engagement. A quarter-inch gap change over two years indicates post settlement or hinge wear.
- Operator housing interior. Power off, lid open, flash on. Capture the board, terminal block, and any visible wiring. Date this photo; it’s your contamination baseline.
- Limit-switch mechanical position. Where accessible, photograph the cam or lever position against its scale or reference mark. Pair this with your multimeter reading from the previous section.
Labeling and Storage
Use a consistent naming format: 2025-04-15_Gate_Open_Full.jpg. Store in a cloud folder shared with any household member who might call for service. When you contact Vance Gate Repair Chandler home, mention the folder exists; our technicians review homeowner documentation when it’s available, and it often changes the diagnostic approach.
In Chandler’s climate, the most valuable photo is the post-haboob operator interior. We’ve had homeowners show us photos from July that proved a board was clean immediately after a storm, directing our diagnosis toward gasket failure rather than original intrusion. That distinction can mean the difference between a warranty repair and an out-of-pocket replacement.
Warranty-Voiding Maintenance Tasks
Gate operator warranties contain specific exclusions for owner-performed maintenance. The language is usually buried in a “Maintenance and Service” section, and it’s enforceable. We’ve seen homeowners in Chandler lose coverage on $800 operators because they performed tasks the warranty explicitly reserved for “qualified technicians,” a risk detailed in our article on Gate Repair Permits, Codes & Inspections in AZ: What You Need to Know.
Common Voiding Actions
- Opening the motor or gearbox housing. Most warranties seal these units; breaking the seal voids coverage regardless of what you find or don’t find inside. This includes adding grease to sealed gearboxes.
- Adjusting force settings beyond factory ranges. The force adjustment potentiometer on many operators is calibrated at installation. Turning it to compensate for mechanical binding, rather than fixing the binding, voids safety-system coverage if the gate later causes injury.
- Installing non-OEM replacement parts. Using a generic limit switch on a DoorKing or Elite operator typically voids the board warranty. The manufacturer argues, often successfully, that the non-spec part caused downstream damage.
- Modifying safety device wiring. Bypassing or extending photo-eye wiring with non-shielded cable voids both safety certification and operator warranty.
- Performing firmware updates. Some modern operators, particularly newer LiftMaster models, require factory-authorized tools for control-board updates. Owner-attempted updates that brick the board are not covered.
How to Find the Exact Language
Locate your warranty document, either the paper copy from installation or the PDF on the manufacturer’s website. Search for these exact phrases: “qualified technician,” “authorized service representative,” “seal tampering,” and “non-OEM parts.” The paragraph containing any of these likely defines what you cannot do yourself.
The safe boundary: cleaning, lubricating accessible external components, adjusting photo-eye alignment, and documenting readings with a multimeter. The unsafe boundary: anything requiring tool entry into sealed housings, electrical modification, or force/safety parameter changes. When in doubt, our Gate Repair services include a free second opinion on any written estimate that applies to warranty questions too. Bring your warranty document and we’ll identify the relevant clauses at no charge.
Monthly, Seasonal, and Annual Checklist
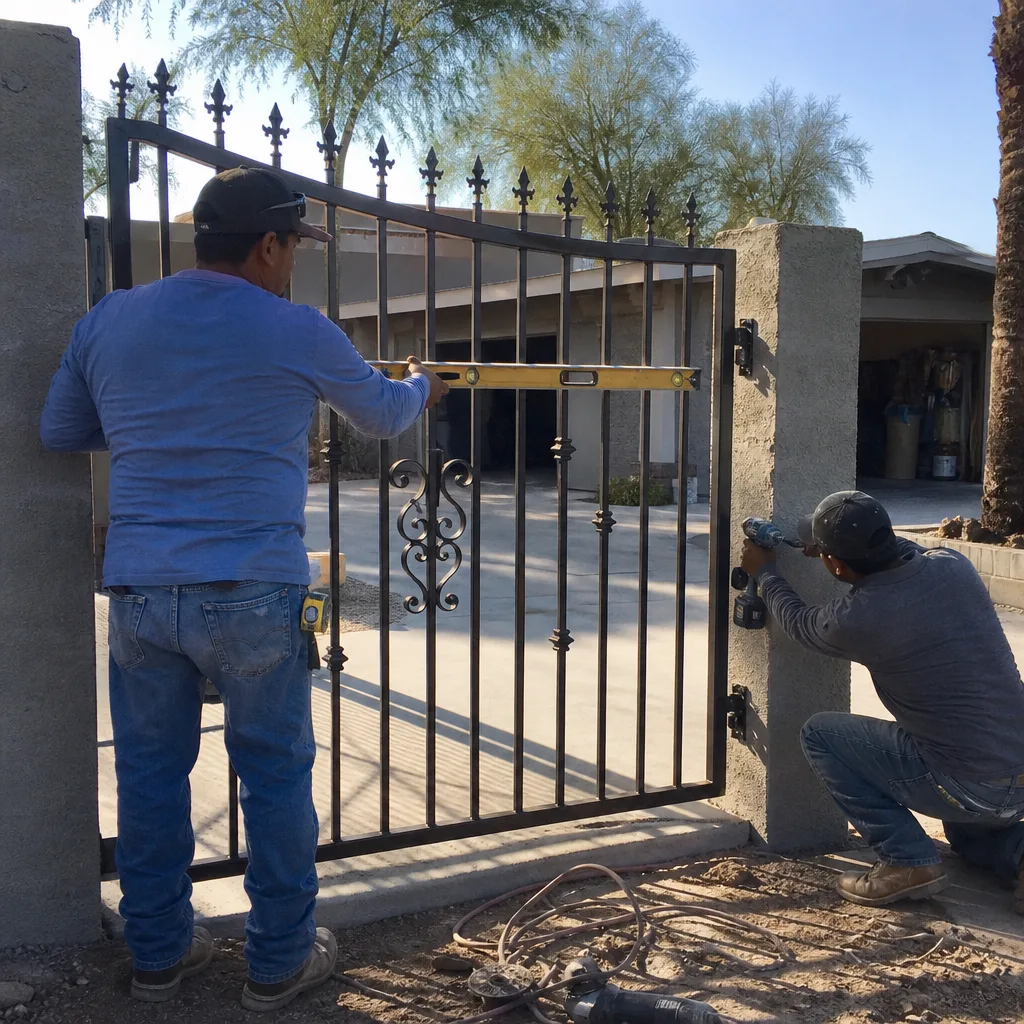
This checklist organizes tasks by frequency and ties them to Chandler’s actual weather pattern, not arbitrary calendar dates.
Monthly (Year-Round)
- Test manual release and hand-operate gate through full travel
- Verify photo-eye beam is unbroken and aligned (LED indicators on both units)
- Visual inspection of chain or rack for visible wear, missing links, or debris accumulation
- Listen for new noises during operation: grinding, squealing, or intermittent motor strain
Seasonal
Pre-Monsoon (Late June):
- Complete pre-monsoon inspection protocol from Section 1
- Apply lubrication to all components due in current quarter
- Test battery backup if equipped; replace if voltage below 12.0V under load
Post-Haboob (Within 72 Hours of Any Dust Storm):
- Complete post-haboob inspection protocol from Section 1
- Clean exterior operator housing with damp cloth, not compressed air aimed at seals
Post-Monsoon (October):
- Full lubrication cycle
- Inspect for rust formation on any surface stripped by summer dust abrasion
- Document limit-switch readings with multimeter
Pre-Summer (April):
- Full lubrication cycle
- Inspect gate frame for paint failure that will accelerate in coming heat
- Check concrete footings for cracking; thermal cycling in Chandler widens cracks that started in winter
Annual (January Recommended)
- Professional inspection of operator internal components, including capacitor testing and contactor wear measurement
- Gate frame squareness check with diagonal tape measurements; record both diagonals
- Post and footing inspection for settlement or tilt
- Full photo documentation set, paired with previous year’s photos for comparison
- Review warranty status and coverage terms; note any approaching expiration dates
For gate installation in Chandler customers, we provide a customized maintenance schedule based on the specific operator model and gate type, with factory-recommended intervals adjusted for local conditions. This checklist is the general framework; your specific installation may need modifications.
Common Mistakes to Avoid
- Using a pressure washer on the operator housing. The force drives water past gaskets that were never designed for it. We’ve replaced three control boards in Chandler’s Carino Estates this way. Use a damp cloth only.
- Ignoring intermittent faults. A gate that reverses “only sometimes” is telling you a limit switch is drifting or a photo-eye is marginally aligned. These conditions worsen nonlinearly; the “sometimes” becomes “always” without warning.
- Lubricating with the wrong product. Chain lubricant on a photo-eye lens attracts dust and blocks the beam. Silicone spray on a chain drive evaporates in Chandler heat within weeks. Match product to component.
- Skipping documentation because “it was fine last time.” The value of a photo record is proven only when something changes. You cannot reconstruct a baseline from memory after the gate fails.
- Adjusting force settings instead of fixing mechanical problems. A gate that strains to close needs hinge adjustment or track cleaning, not more motor force. Increased force accelerates wear and creates liability if the gate impacts a person or vehicle.
- Assuming all operators use the same maintenance schedule. A Mighty Mule residential operator has different sealed-component rules than a commercial-grade FAAC or BFT unit. Read your specific manual; don’t generalize from a neighbor’s gate.
When to Call a Professional
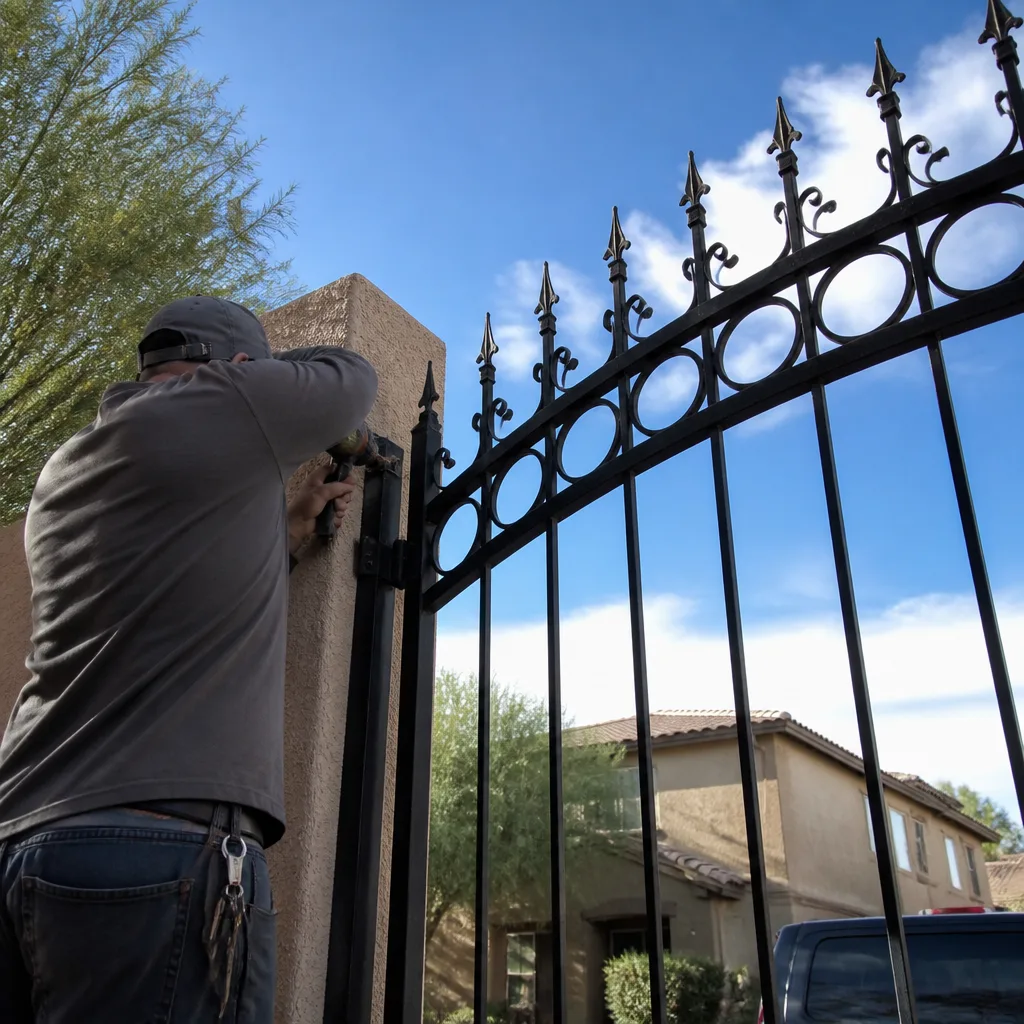
Call for service when you encounter sealed-component issues, safety-system faults, or any condition that affects the gate’s ability to secure your property, as outlined in our Gate Repair Warning Signs: A Chandler Homeowner’s Reference Guide. Specific triggers: the gate reverses unpredictably and photo-eye cleaning doesn’t resolve it; the motor hums but the gate doesn’t move; you smell electrical burning from the operator housing; or the manual release won’t disengage.
Vance Gate Repair Chandler offers free estimates in Chandler. Call (520) 827-3159. Our technicians arrive with the nine major automation brands in our service history, background-checked and uniformed, with name and photo provided before arrival. Every visit includes a written price before work starts and a documented photo record when we leave, under the Haven Standard. The 365-Day Done Right Promise covers all completed work with no expiration within that window.
Frequently Asked Questions
Most residential gate tune-ups in Chandler run between $180 and $320, depending on operator brand, gate type, and whether welding or parts replacement is needed. Vance Gate Repair provides a written, itemized price before any work begins, with no charge for the estimate itself. Call (520) 827-3159 for an exact quote on your specific gate.
You can handle cleaning, external lubrication, photo-eye alignment, and documentation safely. Sealed-component work, force adjustments, and electrical modifications typically void warranties and create safety liability. The boundary is clearly defined in your operator warranty; when in doubt, get a free second opinion on any written estimate from another company.
Chain drives need lubrication every three months in Chandler, not the six-month interval standard in moderate climates. Hinge pins and slide gate rollers need attention every six months. Use white lithium grease on chains, dry Teflon-based lubricant on slide rollers to minimize dust adhesion.
Chandler’s specific combination of sustained 110+ degree days, fine dust from agricultural and desert disturbance, and intense monsoon humidity creates accelerated wear patterns. Thermal expansion is more extreme here than in higher-elevation Arizona cities, and the dust particulate is finer than in rockier desert areas, penetrating seals more easily.
Properly performed external maintenance, cleaning, and documentation will not void warranties. Opening sealed housings, using non-OEM parts, modifying safety systems, or performing unauthorized firmware updates will. Check your warranty document for “qualified technician” and “non-OEM parts” clauses to identify the specific restrictions for your operator.
Within 72 hours, open the operator housing and photograph the interior before cleaning, blow dust off components with low-pressure compressed air directed away from seals, test the gate through 10 full cycles watching for new intermittent behavior, and verify photo-eye alignment. Document everything with dated photos. This protocol has prevented extended diagnostic sequences on multiple service calls we’ve made in Chandler after major dust events.
The Bottom Line
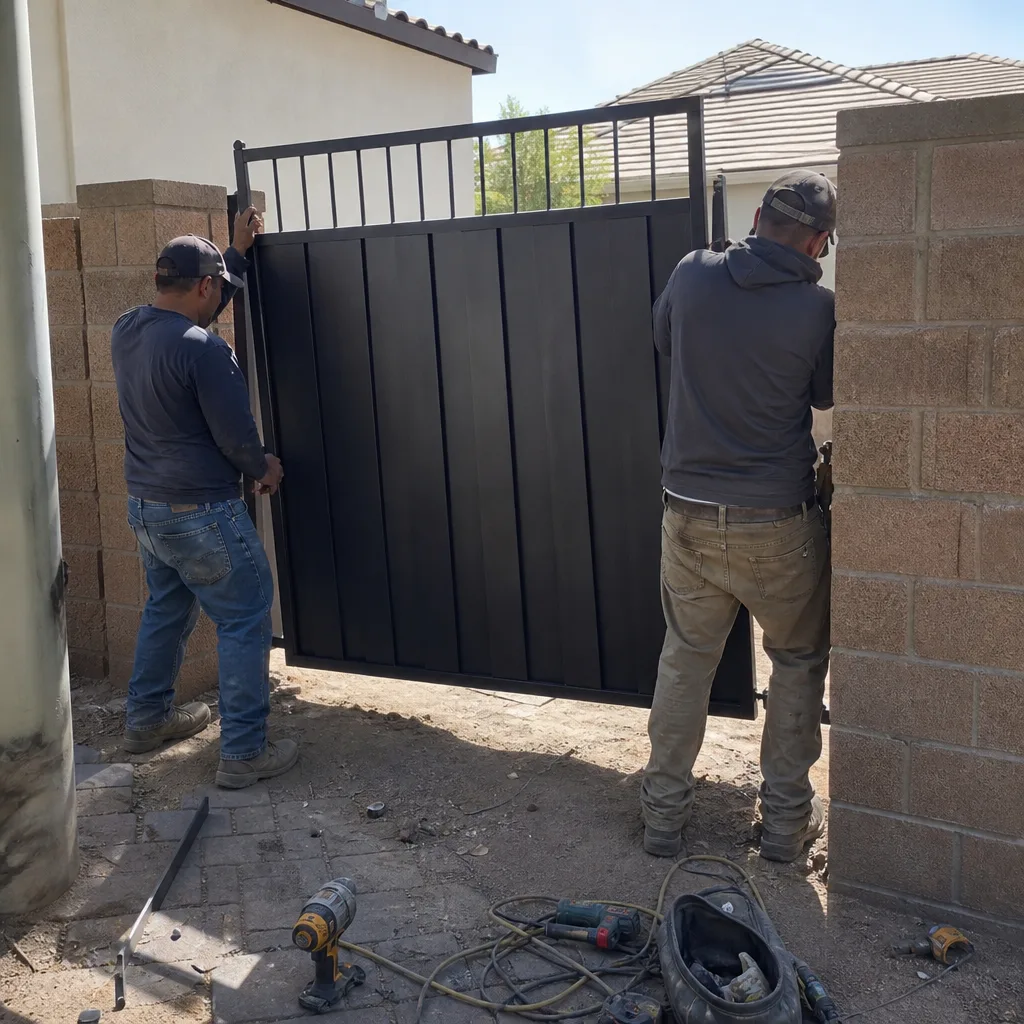
Gate maintenance in Chandler succeeds when it’s tied to actual local conditions: pre-monsoon sealing, post-haboob inspection, heat-adjusted lubrication intervals, and documented baseline readings you can compare season to season. Generic monthly checklists miss the dust intrusion and thermal expansion that actually drive failures here. Perform the tasks within your skill and warranty boundaries, document everything with photographs, and recognize when a sealed component or safety system needs professional attention. The goal isn’t to eliminate service calls; it’s to make the ones you need shorter, cheaper, and based on evidence rather than guesswork.
For installation or motor service questions, see our gate motor & opener in Chandler page. If your gate needs professional attention or you want a free estimate on any issue this checklist surfaced, call Vance Gate Repair Chandler at (520) 827-3159.
Written by Adrian Vance, Owner at Vance Gate Repair Chandler, serving Chandler since 2014.